
One In A Melon: The Quadruplets' First Birthday!

All party photos: http://www.laurendehrone.com/photography // Watermelon Kisses photos: https://jessicavolk.passgallery.com/portfolio


It is still so surreal to say my babies are one! It has been so heavy on my mama heart watching these four change from babies to toddlers seemingly overnight, but we are so overjoyed to be able to celebrate them and share some of the happiness they give us each and every day with the rest of our closest loved ones (and all of you!) It has been incredible watching them grow and thrive after coming into this world at just 30 weeks and 4 days, and I am so proud of the strong little fighters that they are. While our party for them might not have been as grandiose as I had envisioned, it was still a beautiful day and we are so grateful to everyone who was able to come. Caiden, Madison, Lucas, and Grayson, you are truly “one in a melon” and we love you so very much. Here are all of the details that helped our theme come to life and a couple of things we did in light of the current times.
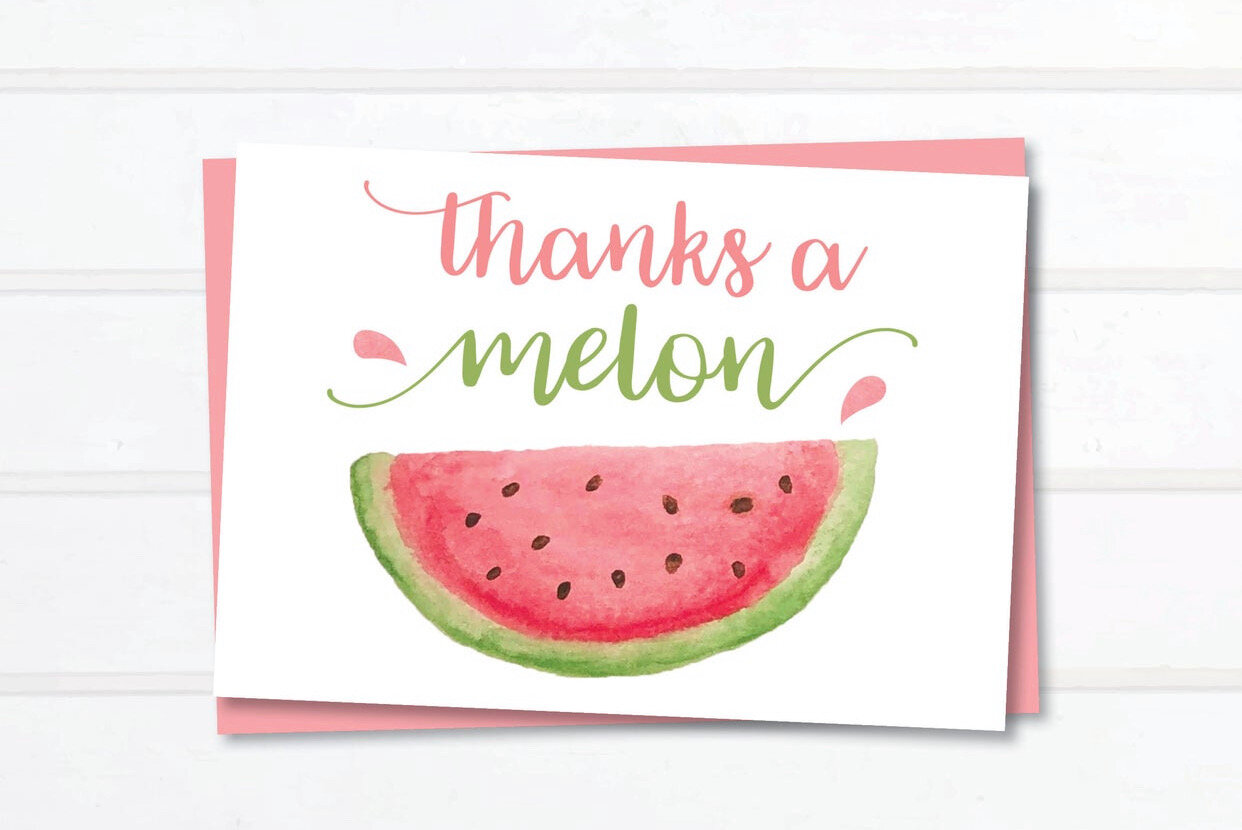
Invitations/Thank Yous
I had a great experience working with this shop owner on Etsy and she was able to make a few color changes to her custom template to give us a beautiful and more gender-neutral final product. We had a photo of them printed on the back as well. We went ahead and got matching thank you cards as well as a custom card insert that requested NICU donations in lieu of gifts. We owe our nurses and doctors everything and it makes me so happy to see all of the contributions made on the babies’ behalf. You can find the invites, thank you’s, and card inserts here! Please note that the files you purchase are just that — a downloadable file that I then took to Staples to get printed into 5x7 invites. If you want to make your life even easier, I highly recommend using Avery Labels to create your invitation labels and return addresses — I do this for every event and it is a huge time saver.

Decorations
I didn’t go too overboard with décor since we were outside the entire time, but we did pull off a couple of cute touches to tie in the watermelon theme.
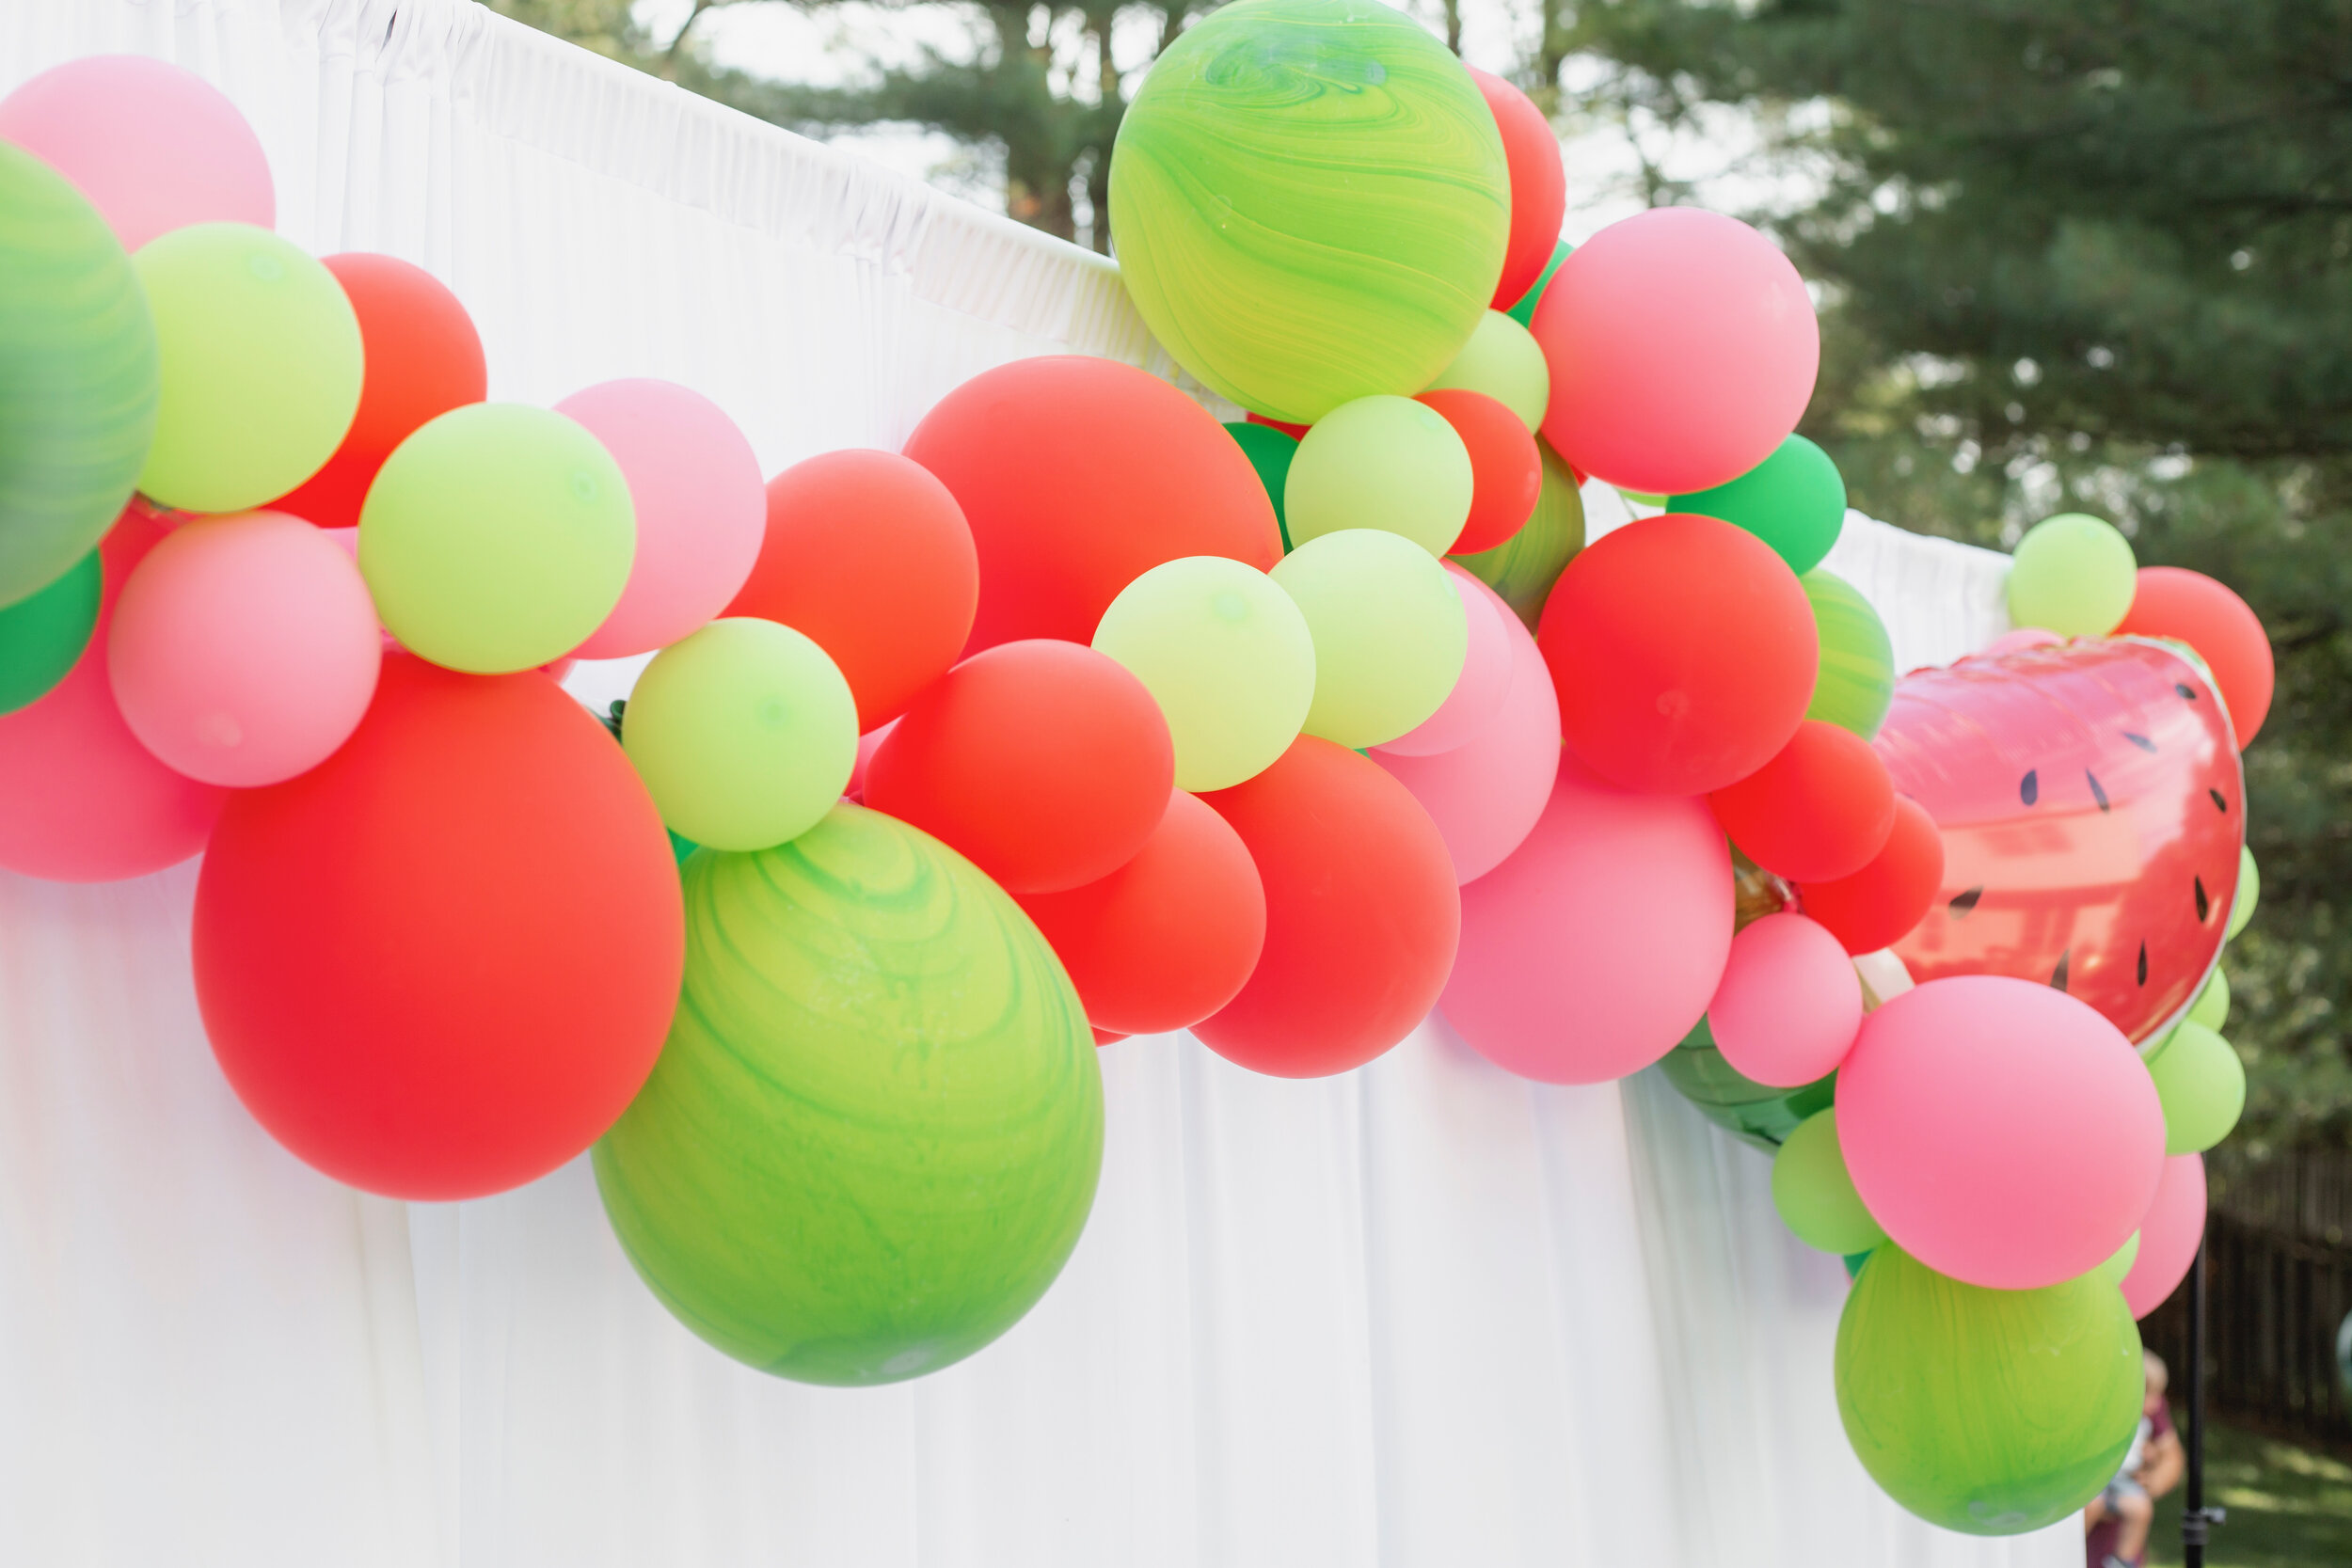
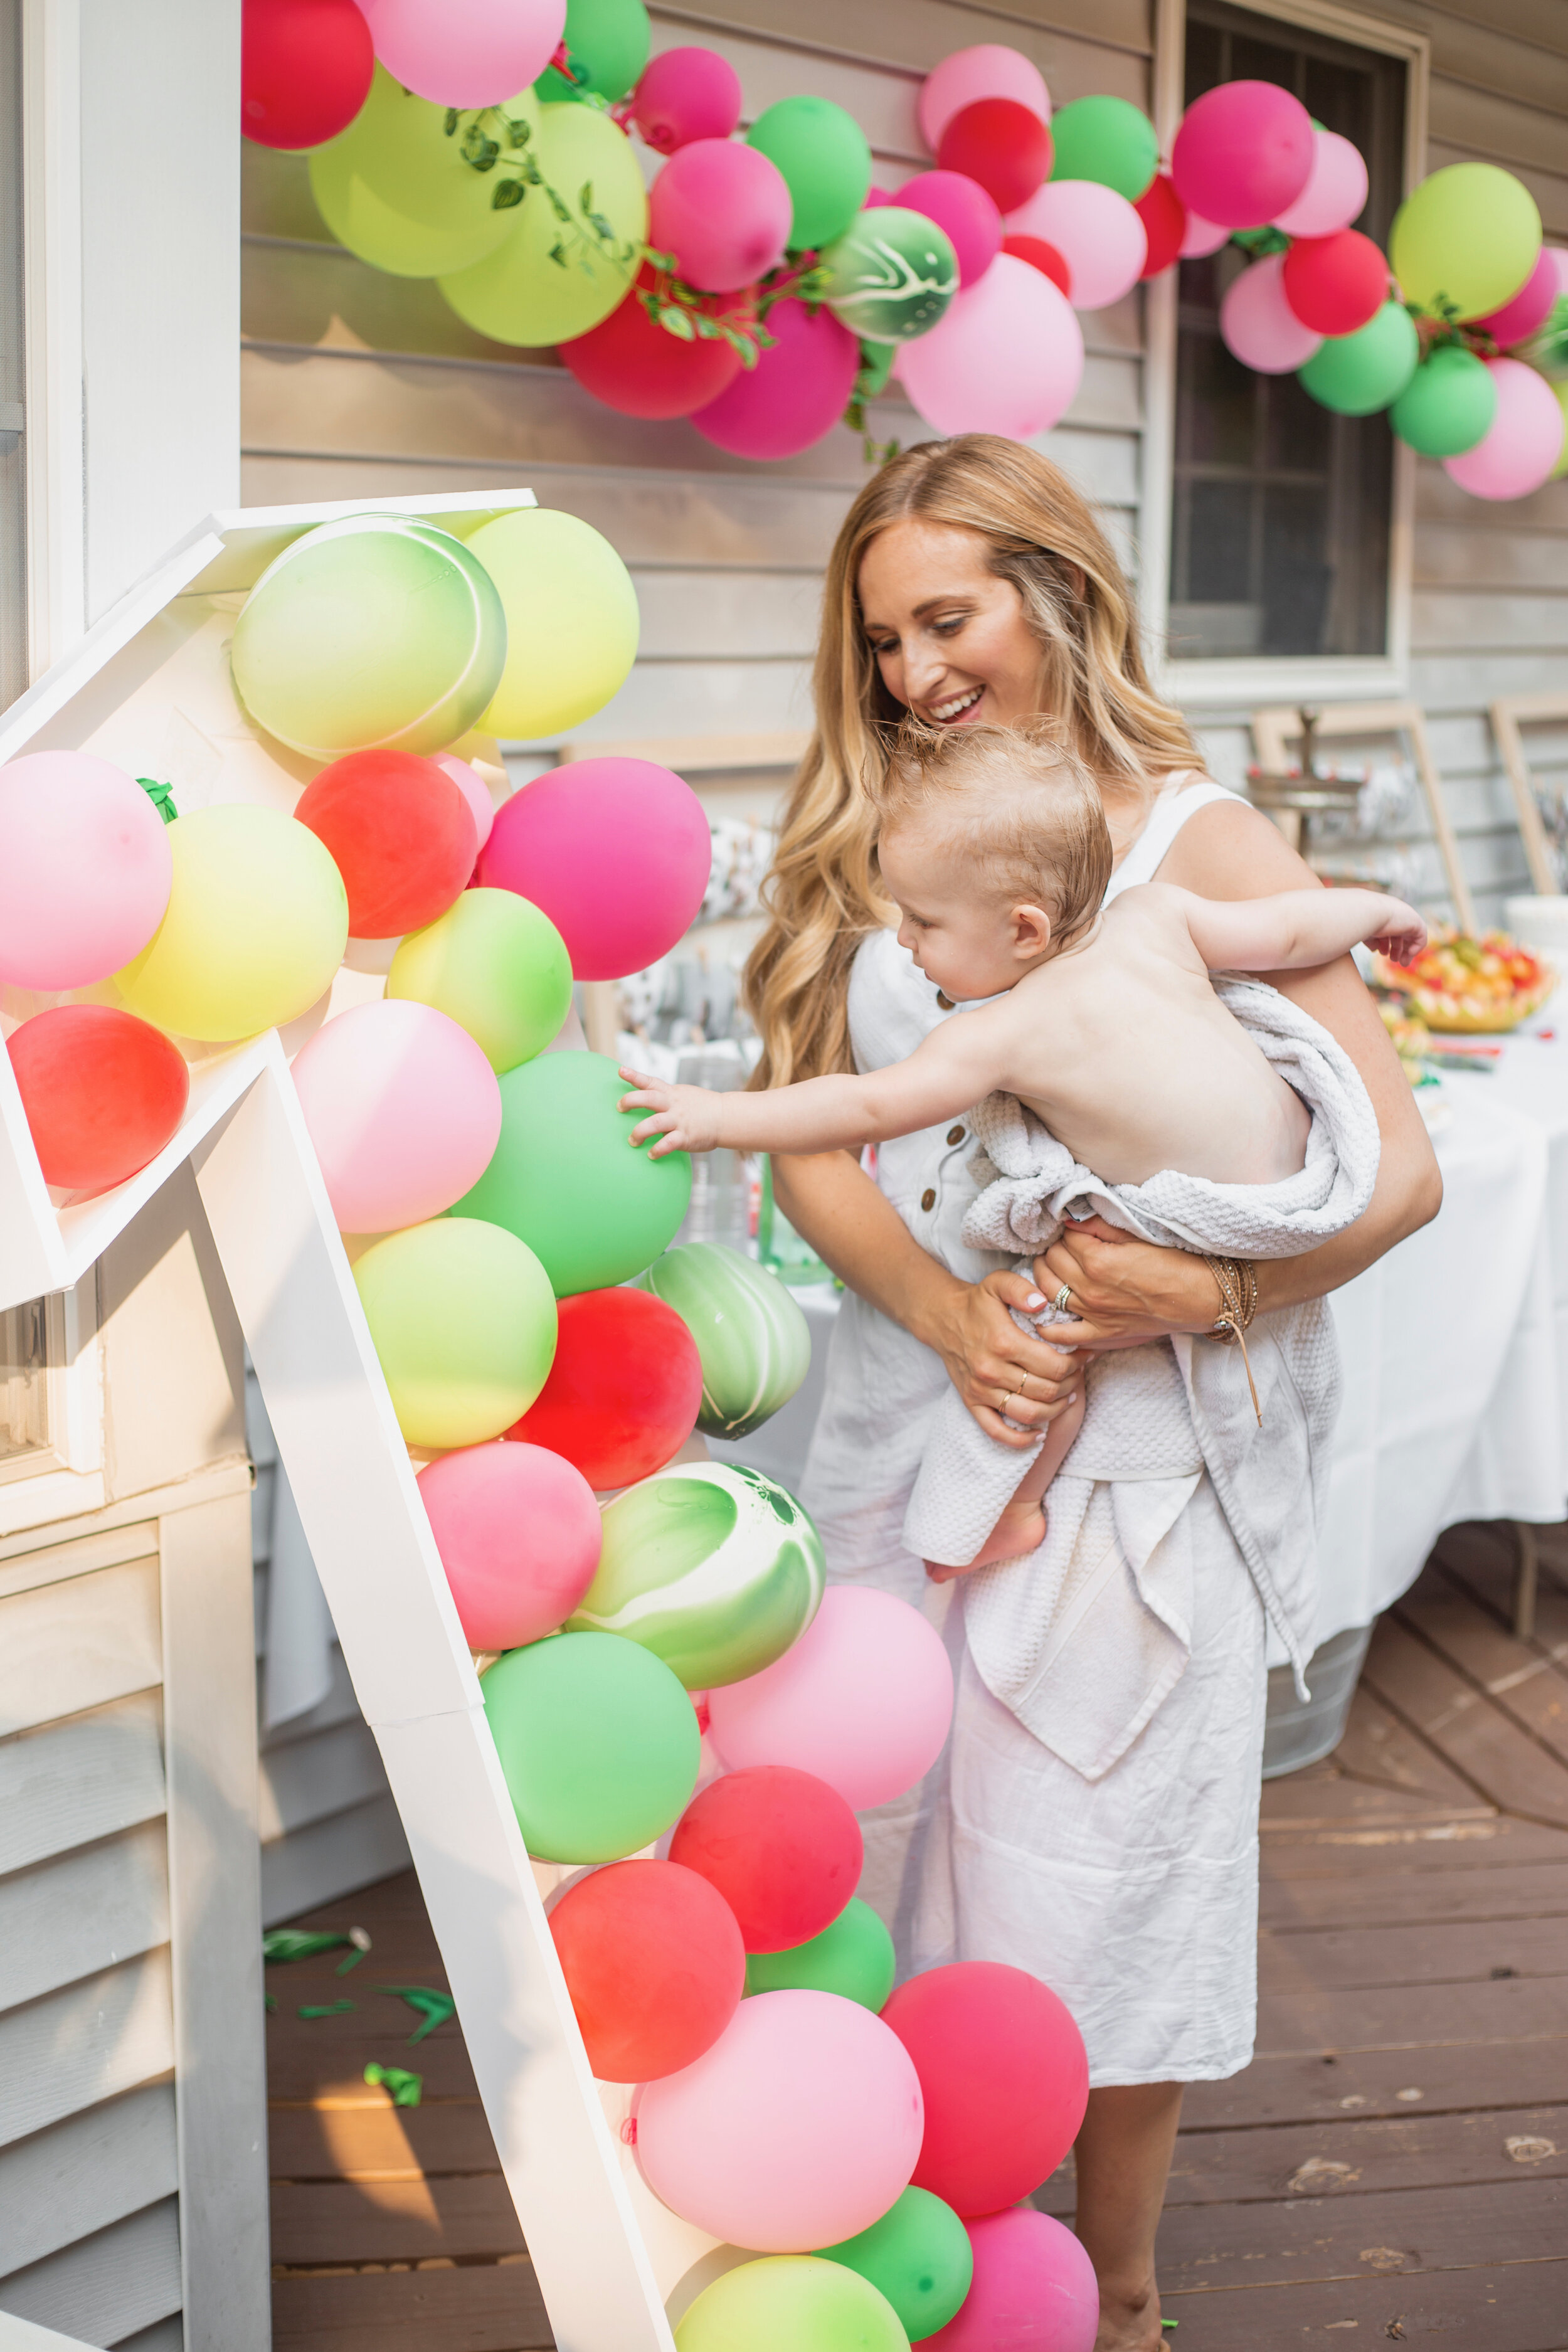


Cake Smash Backdrop. I knew I wanted something clean and simple and we are so pleased with how it turned out. We purchased this photography stand and two packs of these curtains to create a fuller look. Syman anchored the stand behind the deck and it worked perfectly. To attach the balloon garland we just took a couple of clothespins and secured the plastic strip of the garland to the curtains.
Balloon Garland. I was so intimidated by these before I purchased this garland kit to try for myself and it truly was SO simple. Everything you need comes right in one place and it took an hour or less to put together a 12’ garland with a helper. She and I started at opposite ends and secured the balloons to the plastic strip one at a time by slipping the knotted part of the balloon through the pre-cut grooves. We didn’t worry about placing them in any special order, but were careful to alternate size and color for a more polished final product. Tip: The kit already comes with different sized balloons but round shaped balloons looks better than when they’re skinny and elongated. To achieve this look, simply let out a bit of air before knotting. We assembled ours 2 days before the party and it held up perfectly. Next time I’ll purchase an air pump to speed up the process but it was simple and I highly recommend!
3D Number 1. Another project I was intimidated by that ended up turning out to be just fine… Maybe because Syman took over a lot of it for me! Lol, buuuut anyone can do it! I purchased this template on Etsy and it had every single direction super easy to follow to create the coolest 3 dimensional number 1. You can purchase templates for every number and letters, too! Since we had a lot of the supplies in the house (box cutter, hot glue, tape, etc.) the entire project, template included, cost around $35. We filled it with the same balloons as our balloon garland kit and just secured them in with double sided tape.
Centerpieces. At the last minute I decided to order small bouquets for each of the tables. We had red carnations, mini pink roses, and eucalyptus greens filled inside a simple mason jar. It really gave each table a little extra something in addition to a framed photo of each baby and other misc. prints of them scattered around the table.
Photo Display. Looking back I wish I had purchased one of those templates that includes the baby’s stats (amount of teeth, favorite song, current weight, etc.) only because the photo display ended up being time consuming and I think looked over by many of our guests. At the edge of our food table and leaned up agains the house, I had four 16x20 picture frames with the backings removed. I attached 3 string of twine from left to right across each, secured them with tape and then eventually hot glue after it wasn’t holding, and then finally hung 4 clothespins with a 4x4 photo on each one — (1 photo for every month.) The final product did look nice and it was special for me to see their progress through out the year, but I don’t have a place to display them now and the total project ended up costing $60 so it felt a little wasteful.
Food/Drink
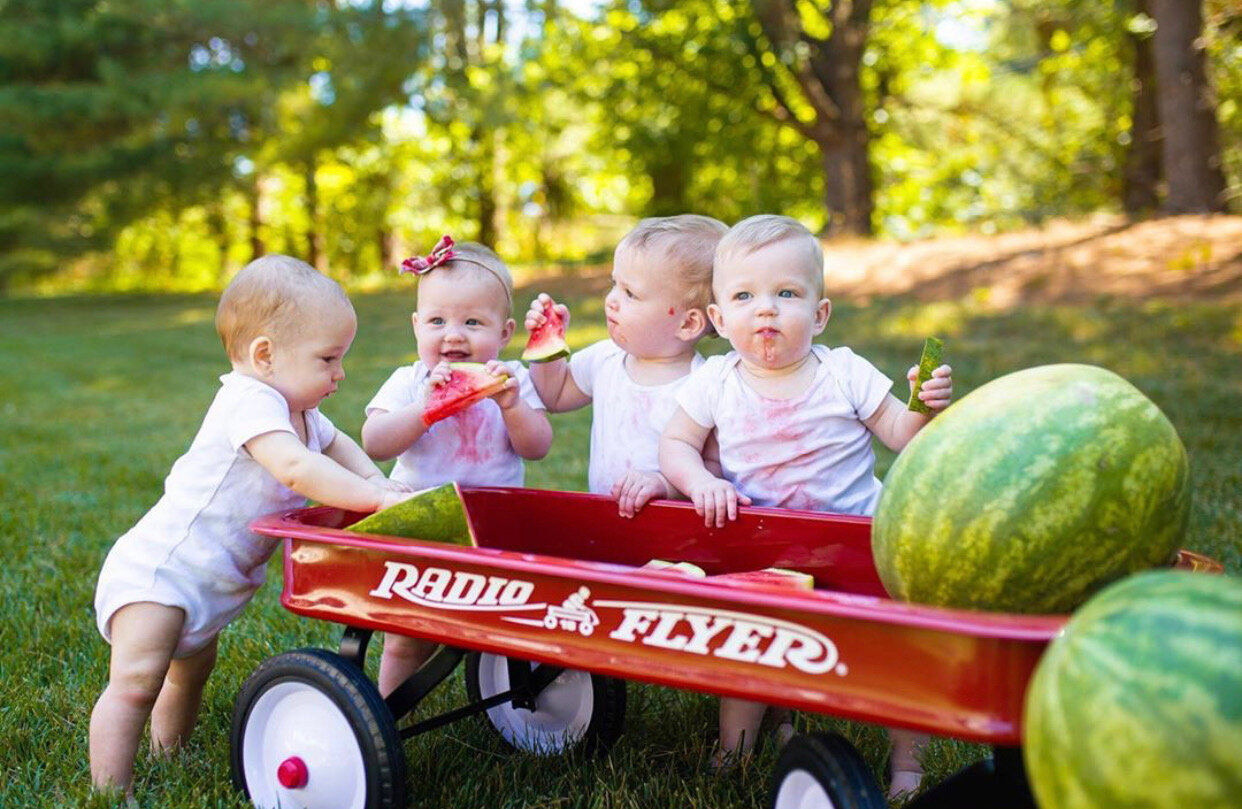
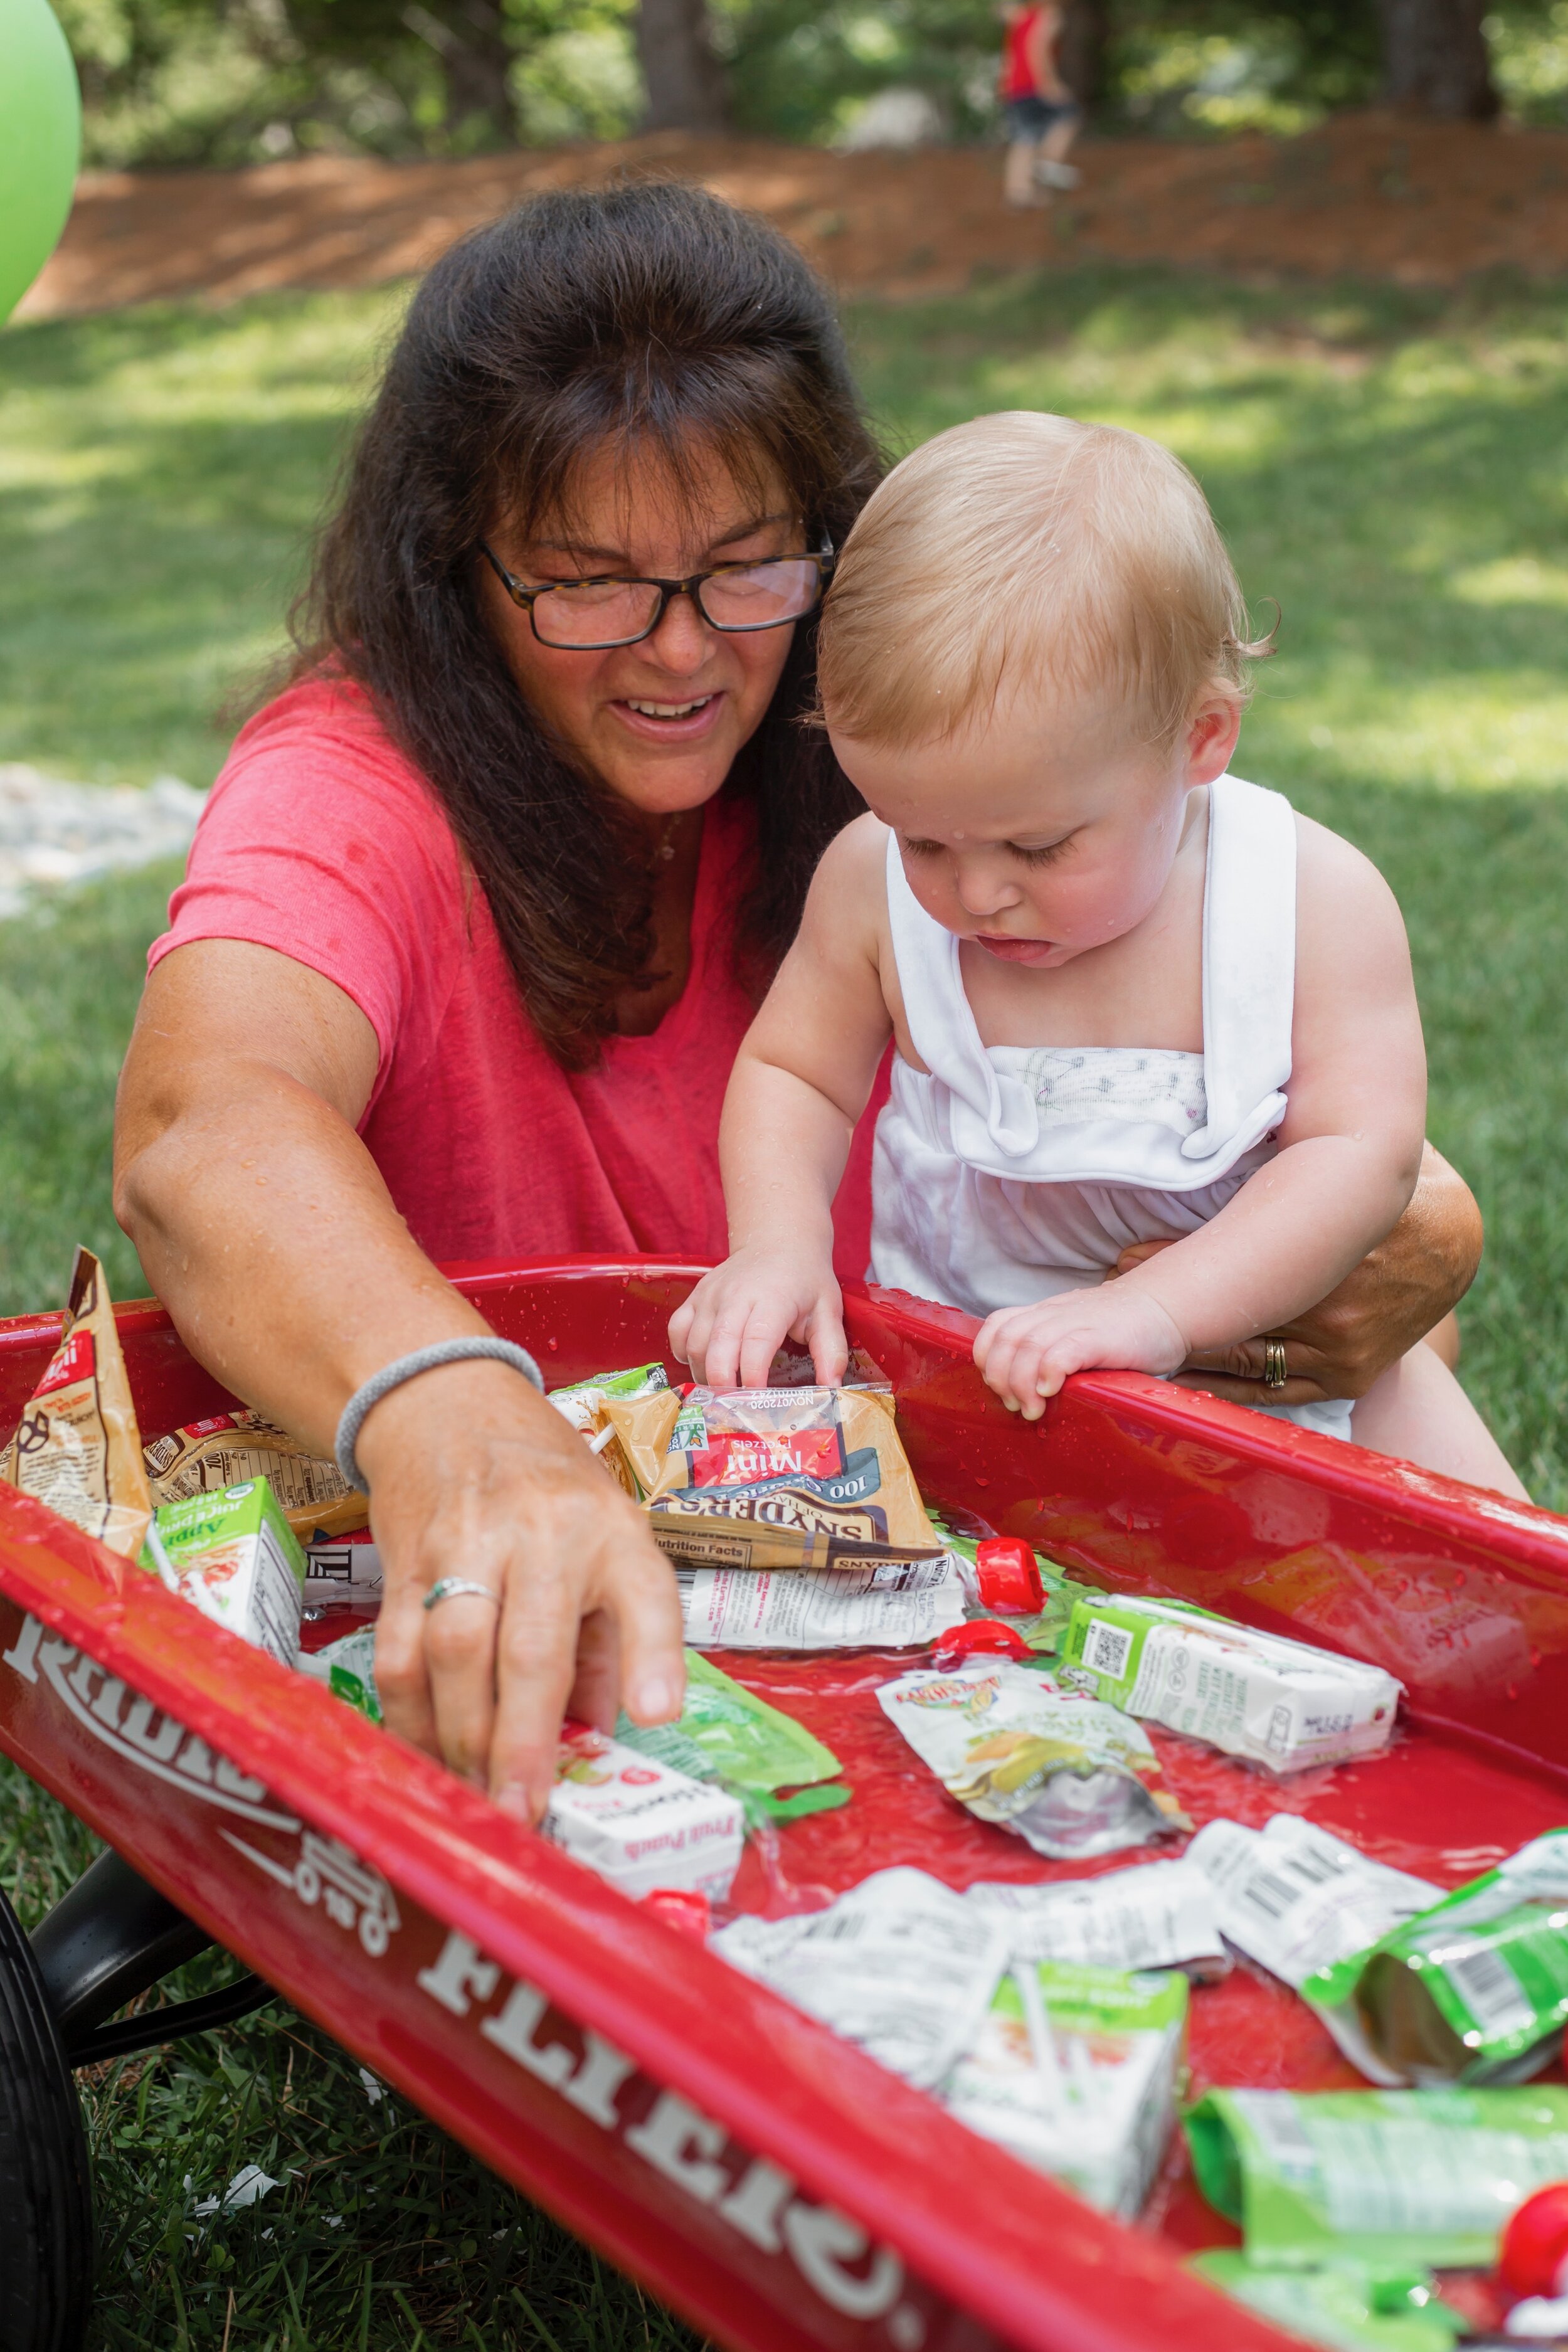
With everything going on in the world, hiring a food truck just seemed like a logical solution to making our guests feel comfortable and I am so happy we went this route. Although our party was outdoors and followed the recommendations for our state, I completely understand peoples’ hesitancy to share from a communal dish right now. We went with a food truck that specialized in BBQ and all things perfect for an outdoor summer party and it was amazing. Guests were able to walk right up to the truck, place their order, and walk away with everything including utensils in a to-go container. It only ended up costing us a bit more than our normal catering fee and we didn’t have to set anything up or clean up either — We will definitely be doing this for future parties! We also had a few apps (corn dip, fruit salad, WATERMELON!) on our display table and individual bagged chips/pretzels, but most of these went untouched and everyone was satisfied with the food truck. For the kids we used our red Radio Flyer wagon as a little cooler and filled it with ice, apple juice, pouches, and more. For the adults we had all of the basics for beverages… Water, seltzer, soda, and booze. ;)
Dessert/Favors
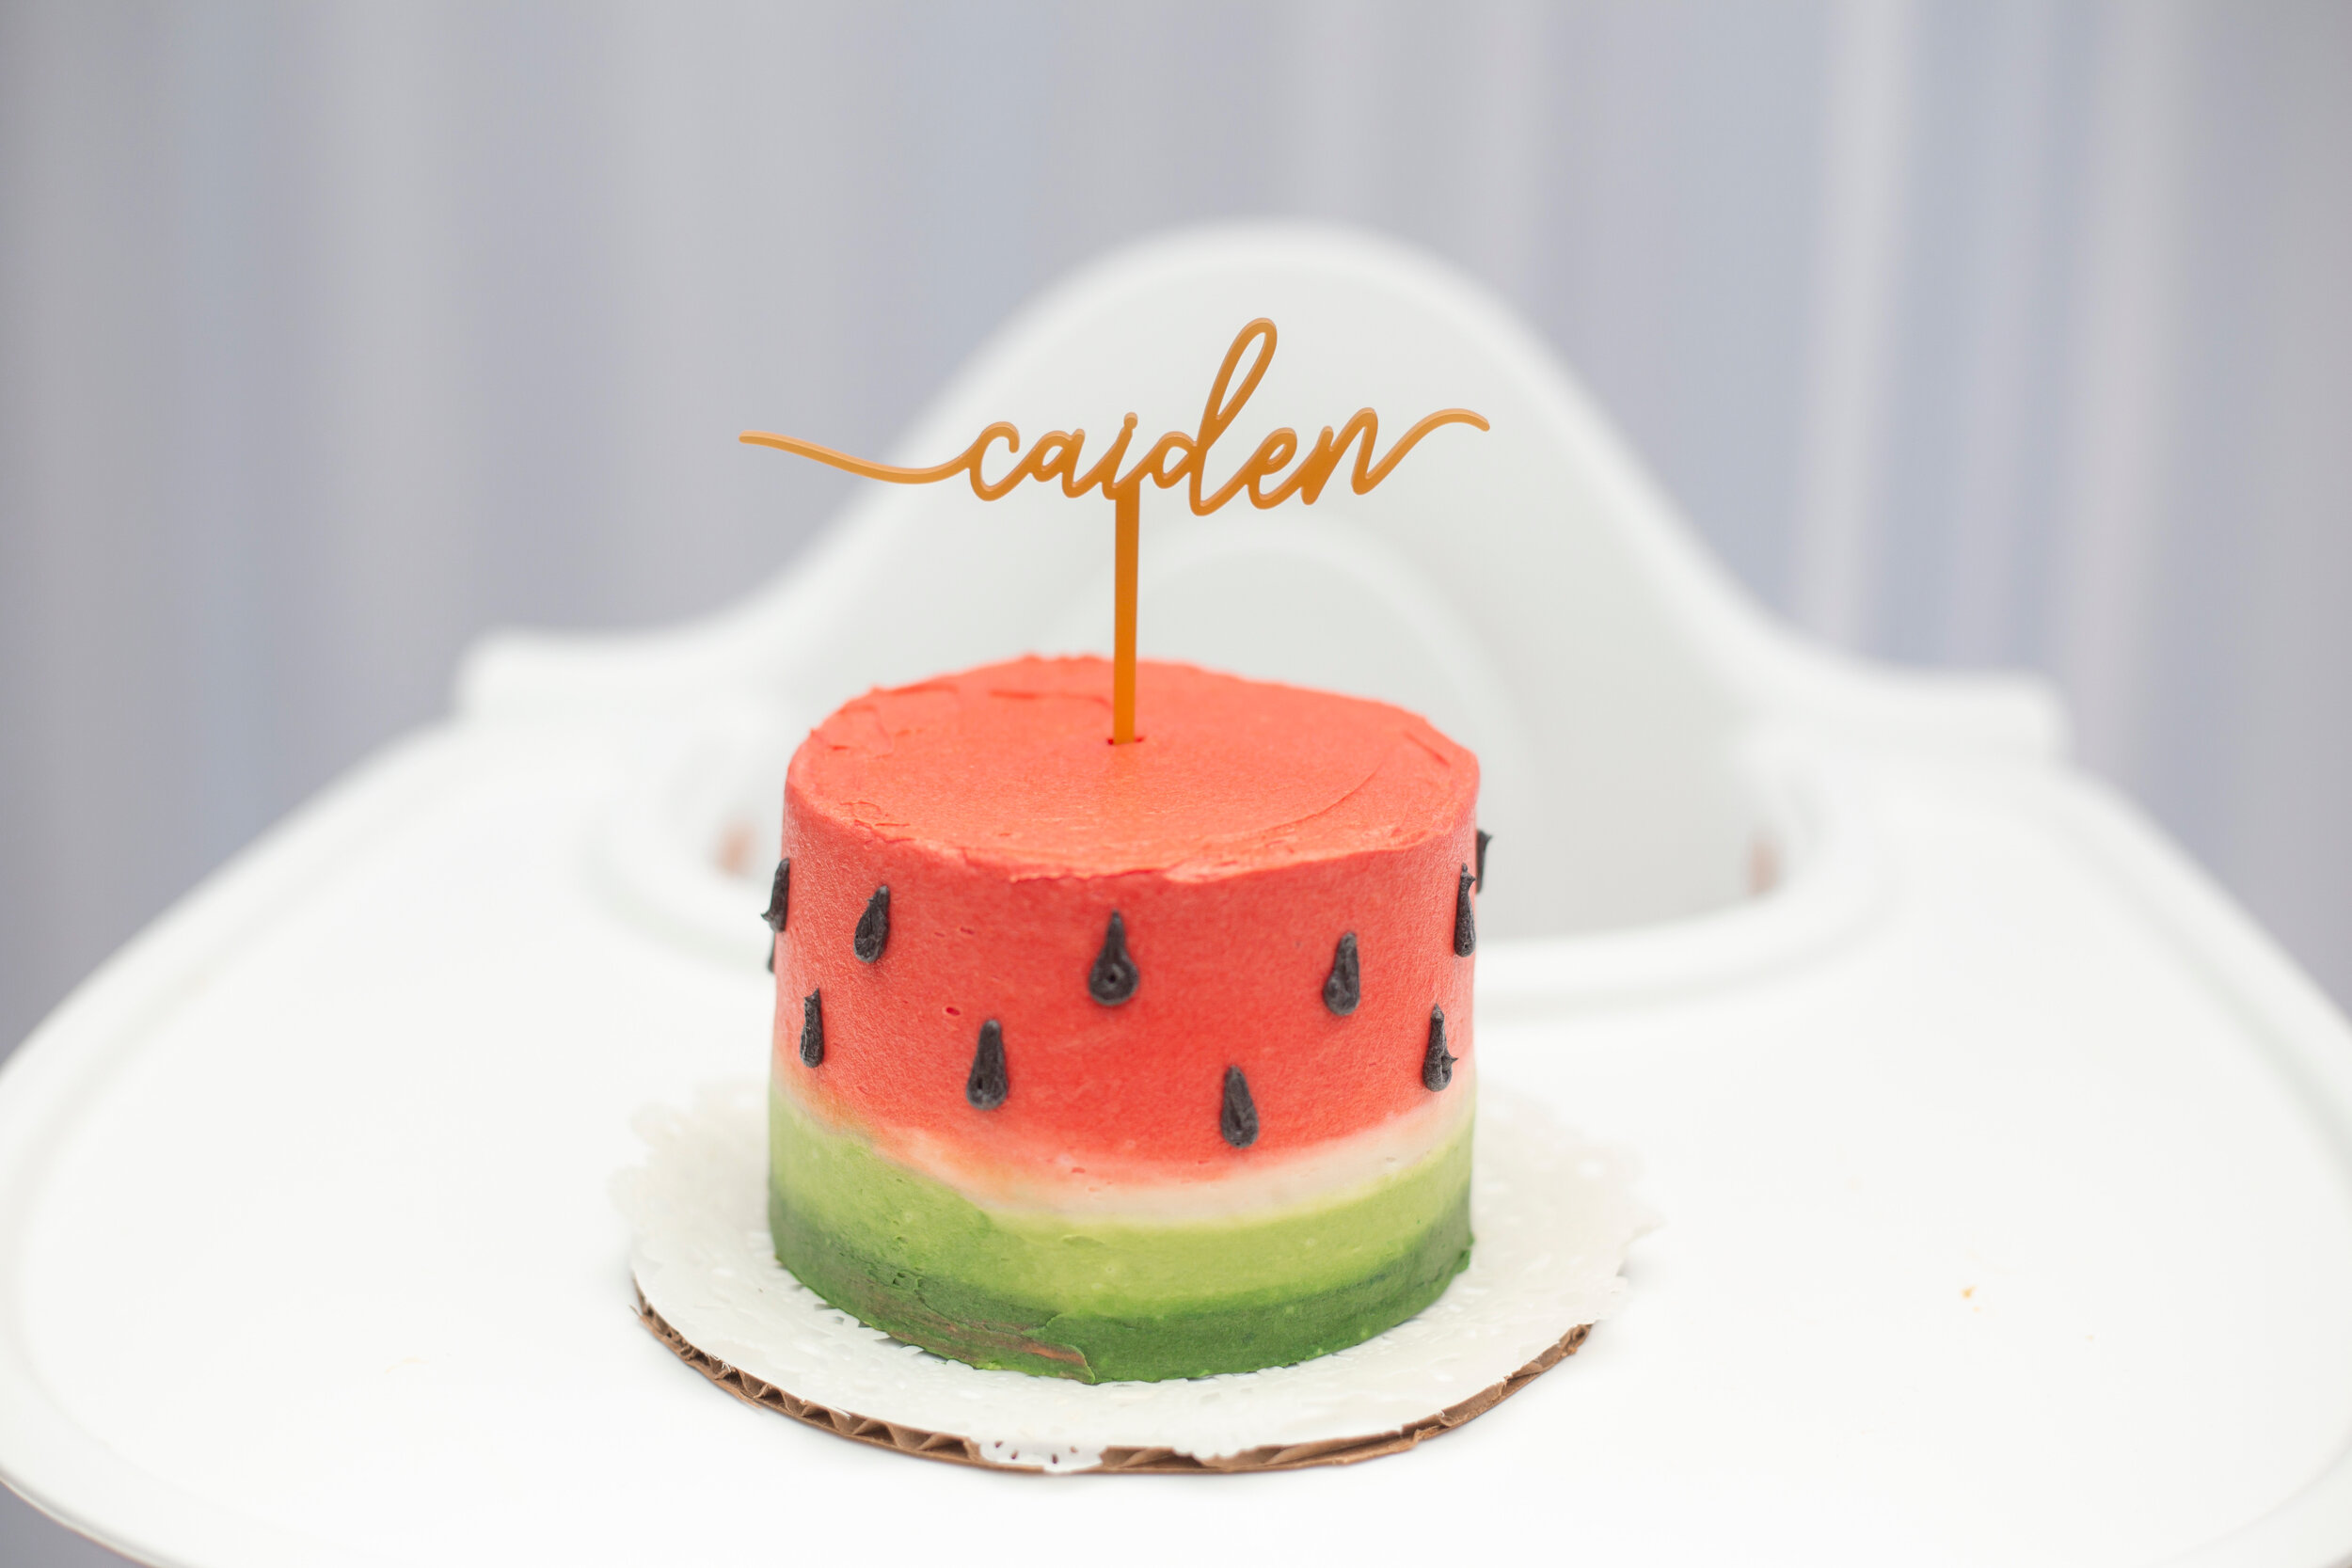
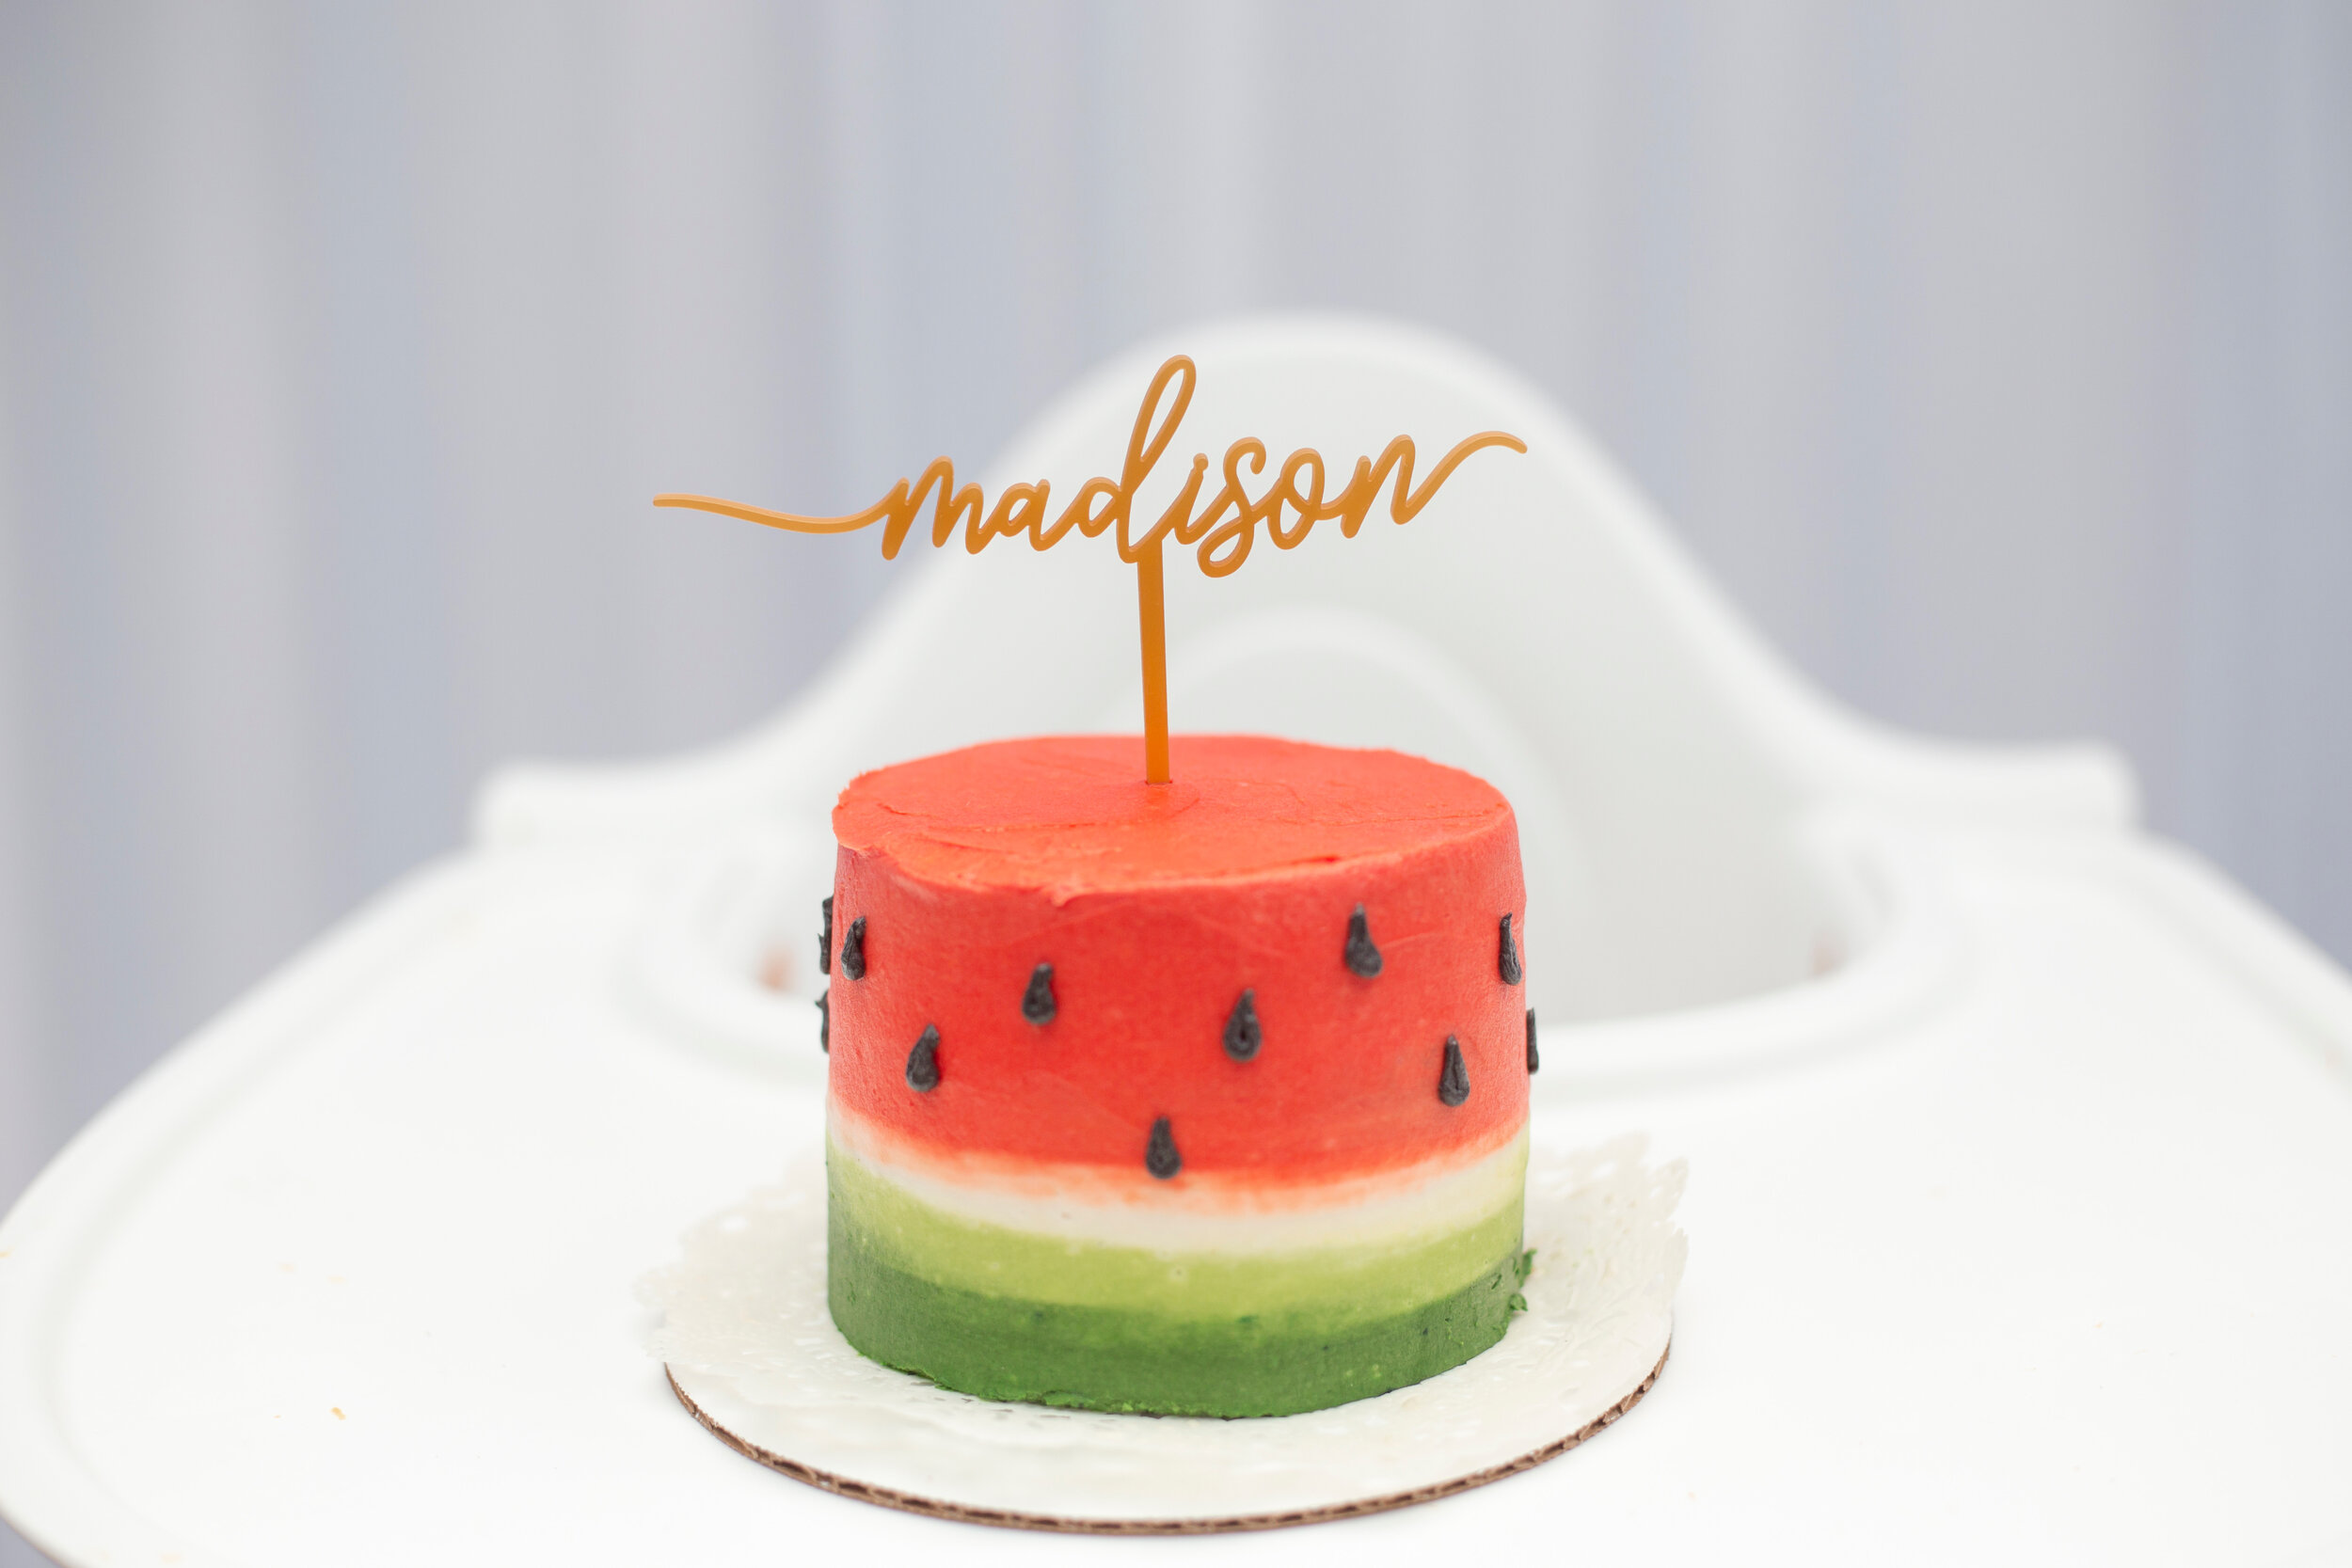
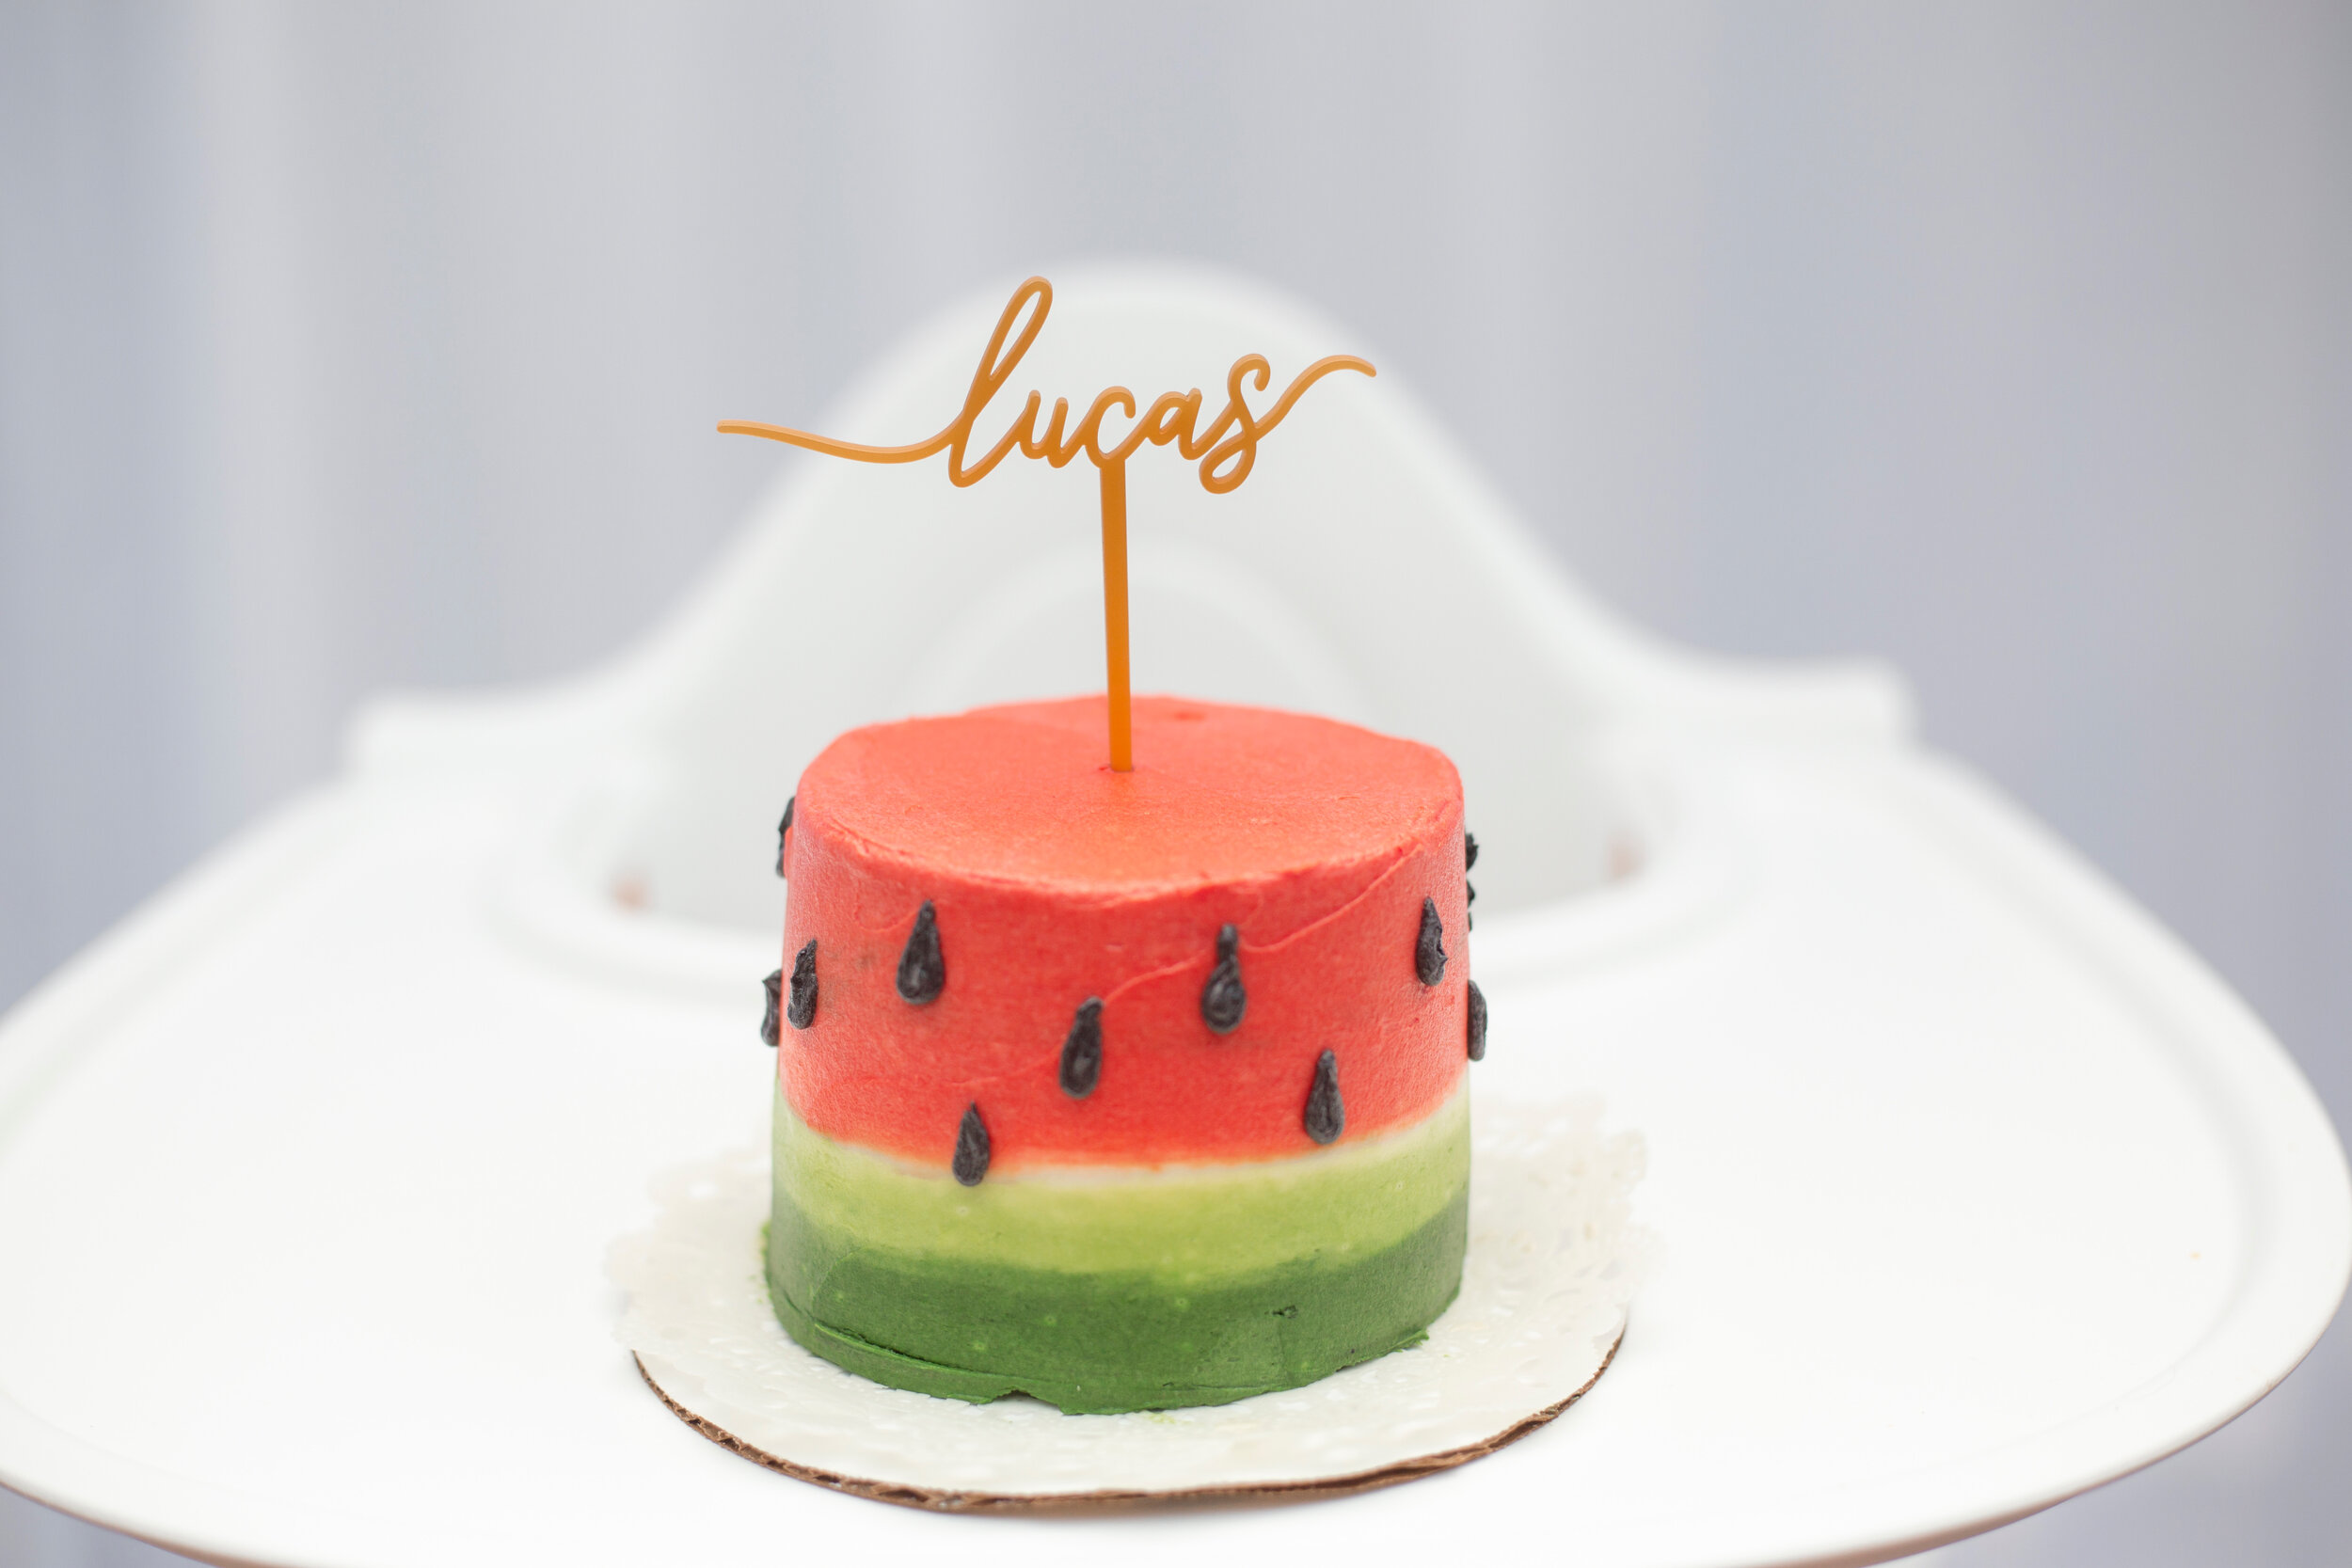
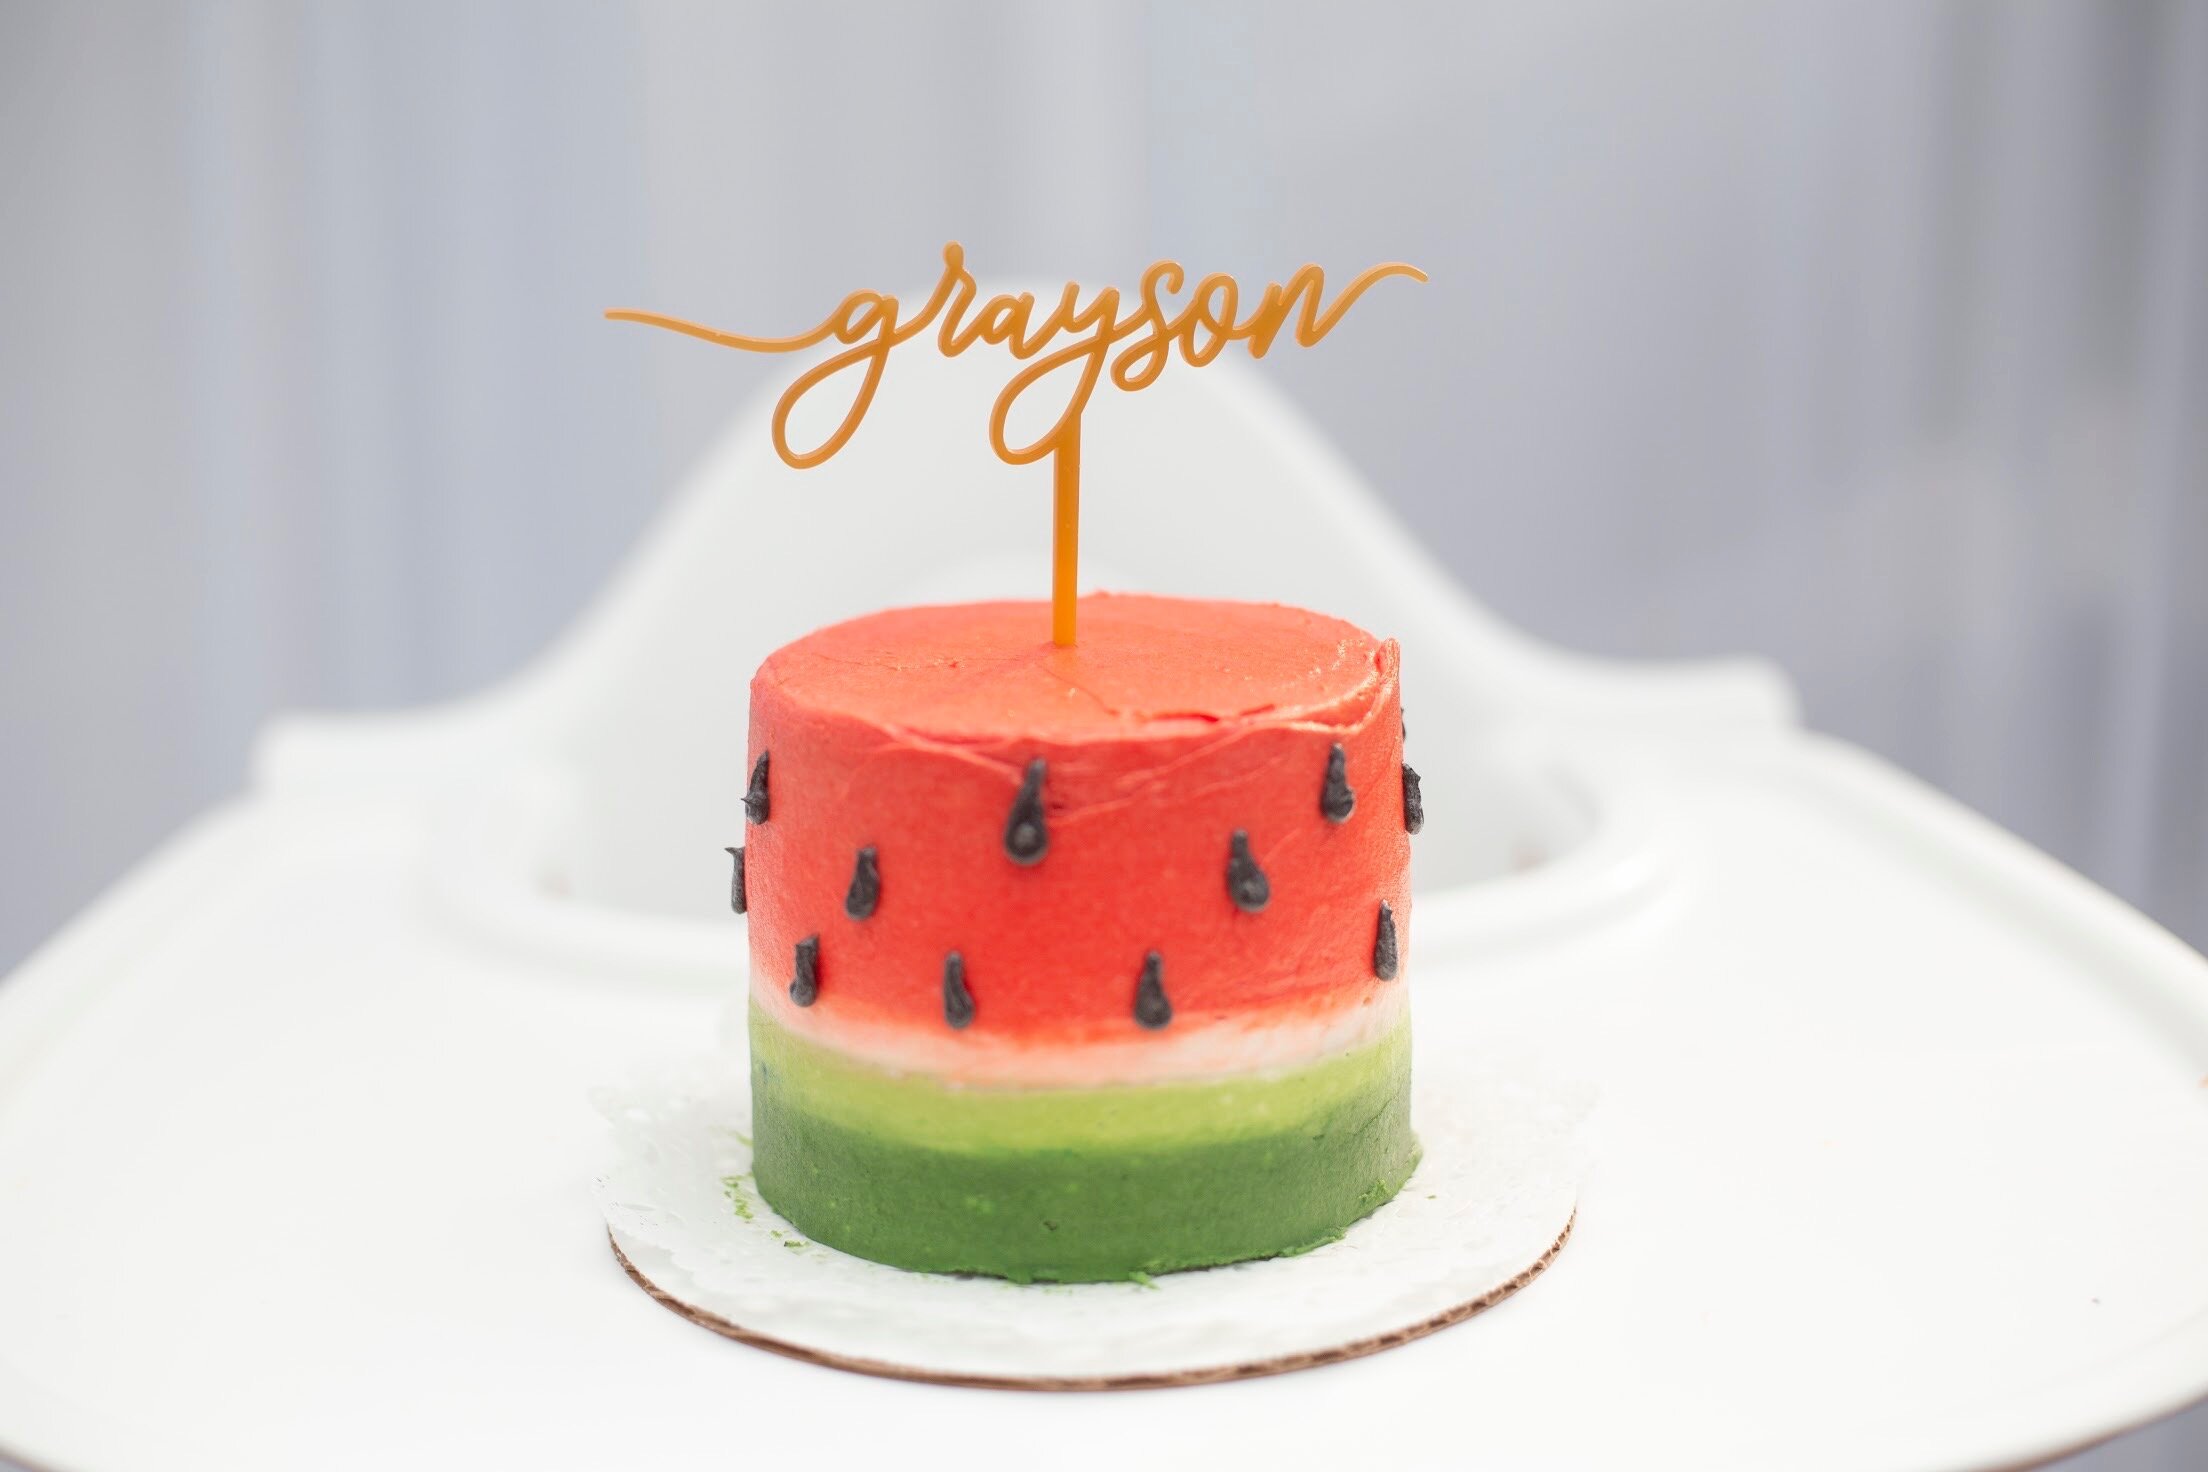
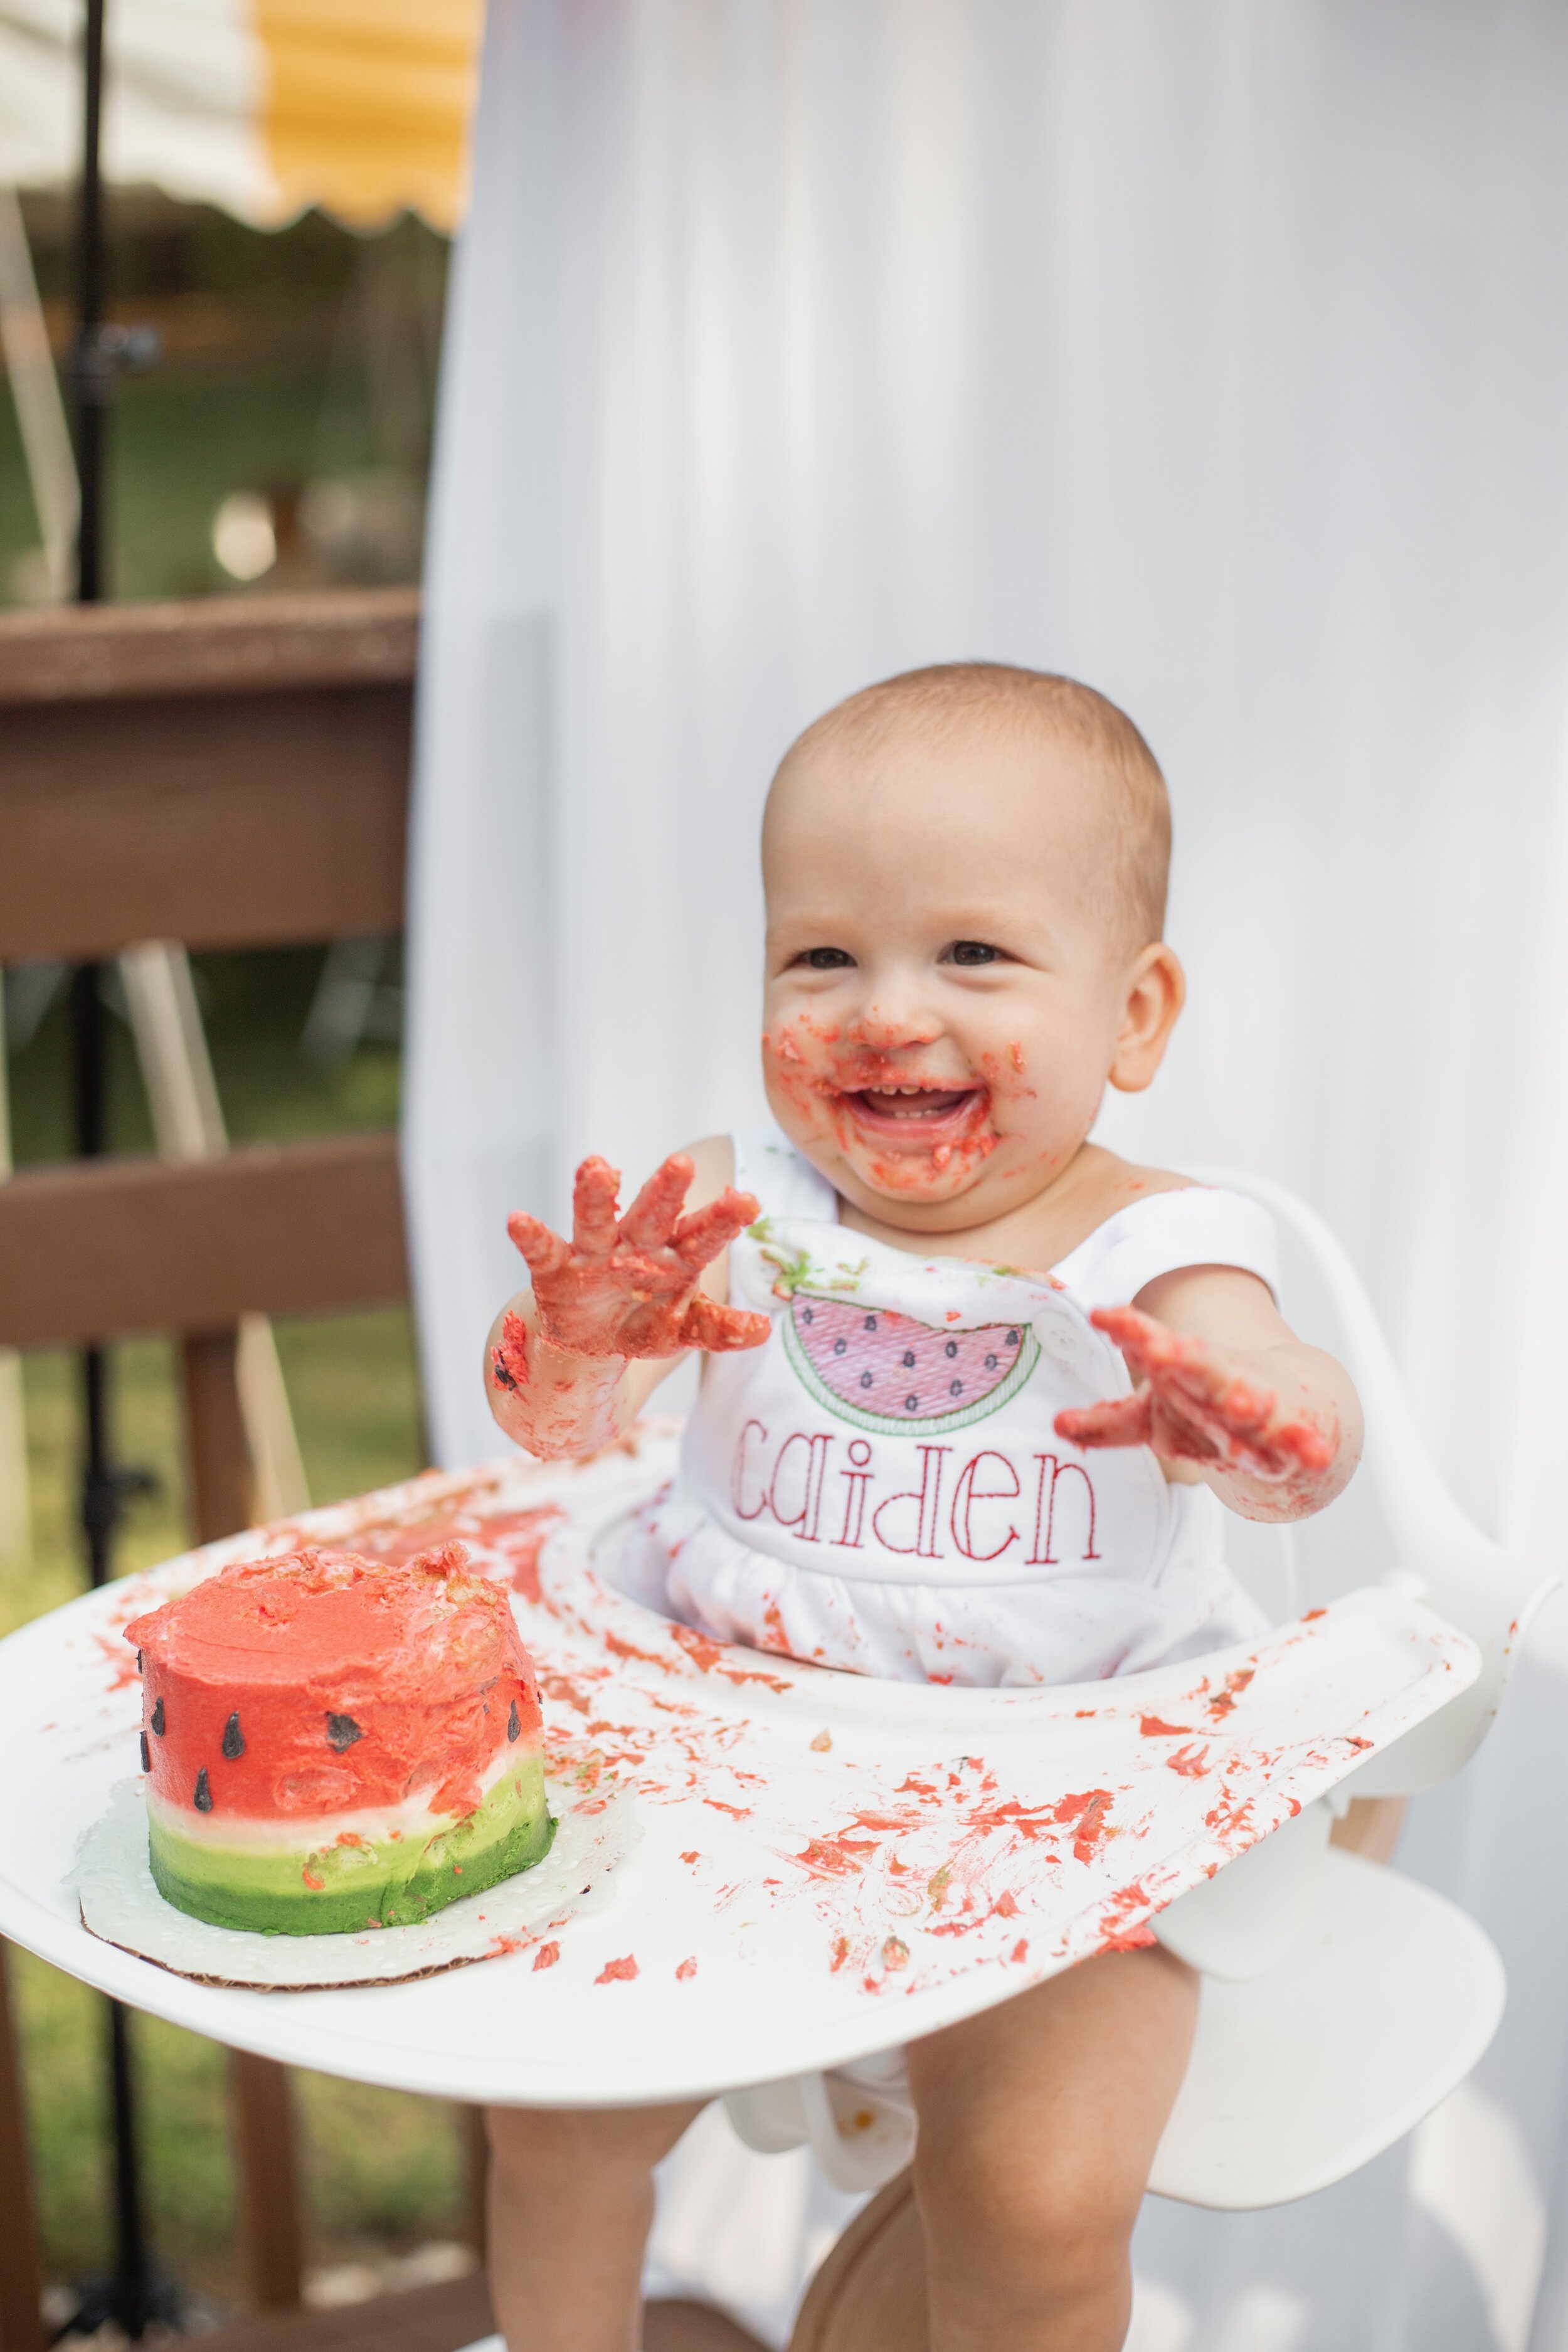
As soon as the food truck left we had a Kona Ice truck turn up. Guests were able to grab a cup of shaved ice and then top with their favorite flavors. Both the kids and adults loved it and it was yet another thing I didn't have to worry about preparing or cleaning up. While the ice truck was busy serving, we put some adorable watermelon cupcakes on display and individually wrapped watermelon sugar cookies with the babies’ names on them to grab as a favor (both treats were made by family!) The ice truck was only here for a short while, and once he left it was cake smash time for the babies. We went with mini 4’ watermelon cakes with these personalized cake toppers, and our baker used this pinterest video as inspiration. She totally nailed it and the babies more than enjoyed themselves.


Outfits
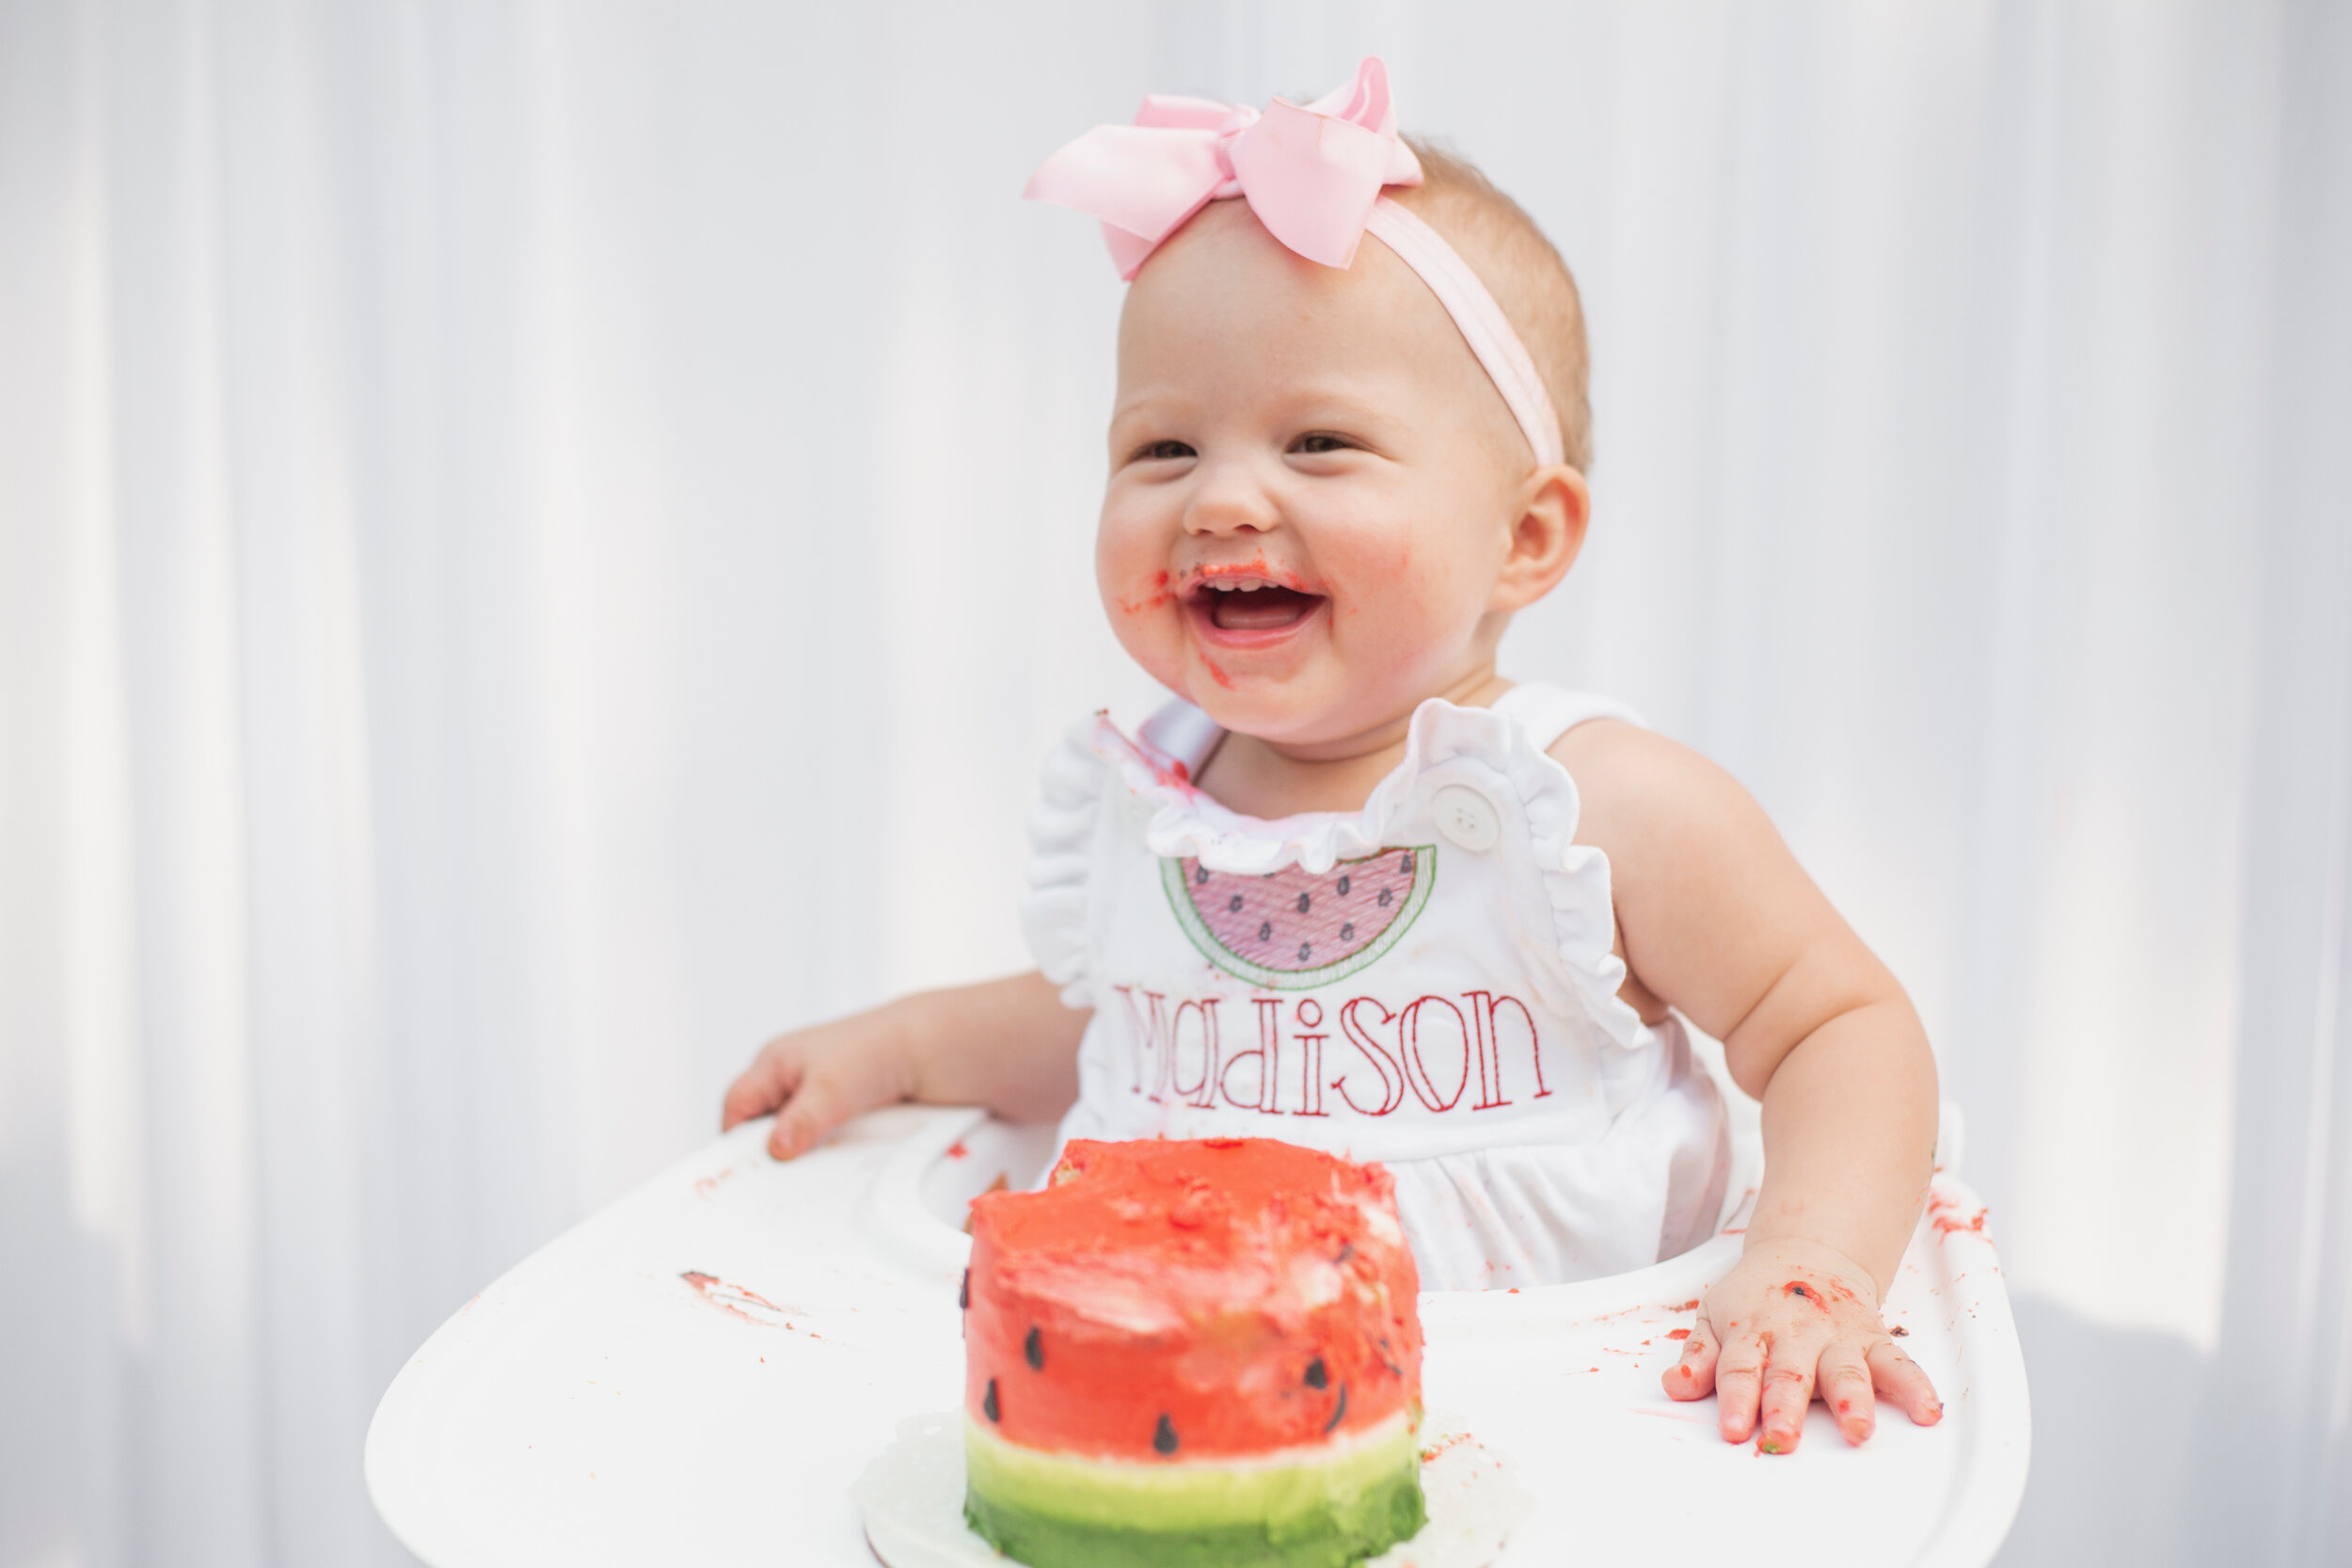

When I saw these adorable bubble outfits I knew they were the perfect outfits for the party. They were lightweight and comfy for summer, and just so sweet. Shout out to Emily from Sweet And Stitched who was just an overall dream to work with! We went with white for each baby and just gave Madison’s a special little feminine twist with the ruffles, and her bow is linked here. If you’re looking for other types of outfits, Emily has tons of options and you can connect with her on Facebook & Instagram as well! Side note, I was miraculously able to get out every last stain thanks to good old Folex. And in case you’re interested, my dress and shoes are linked here! Effortless, casual look for a backyard party… and clearly breastfeeding friendly. Do you see that opened button? Oops!
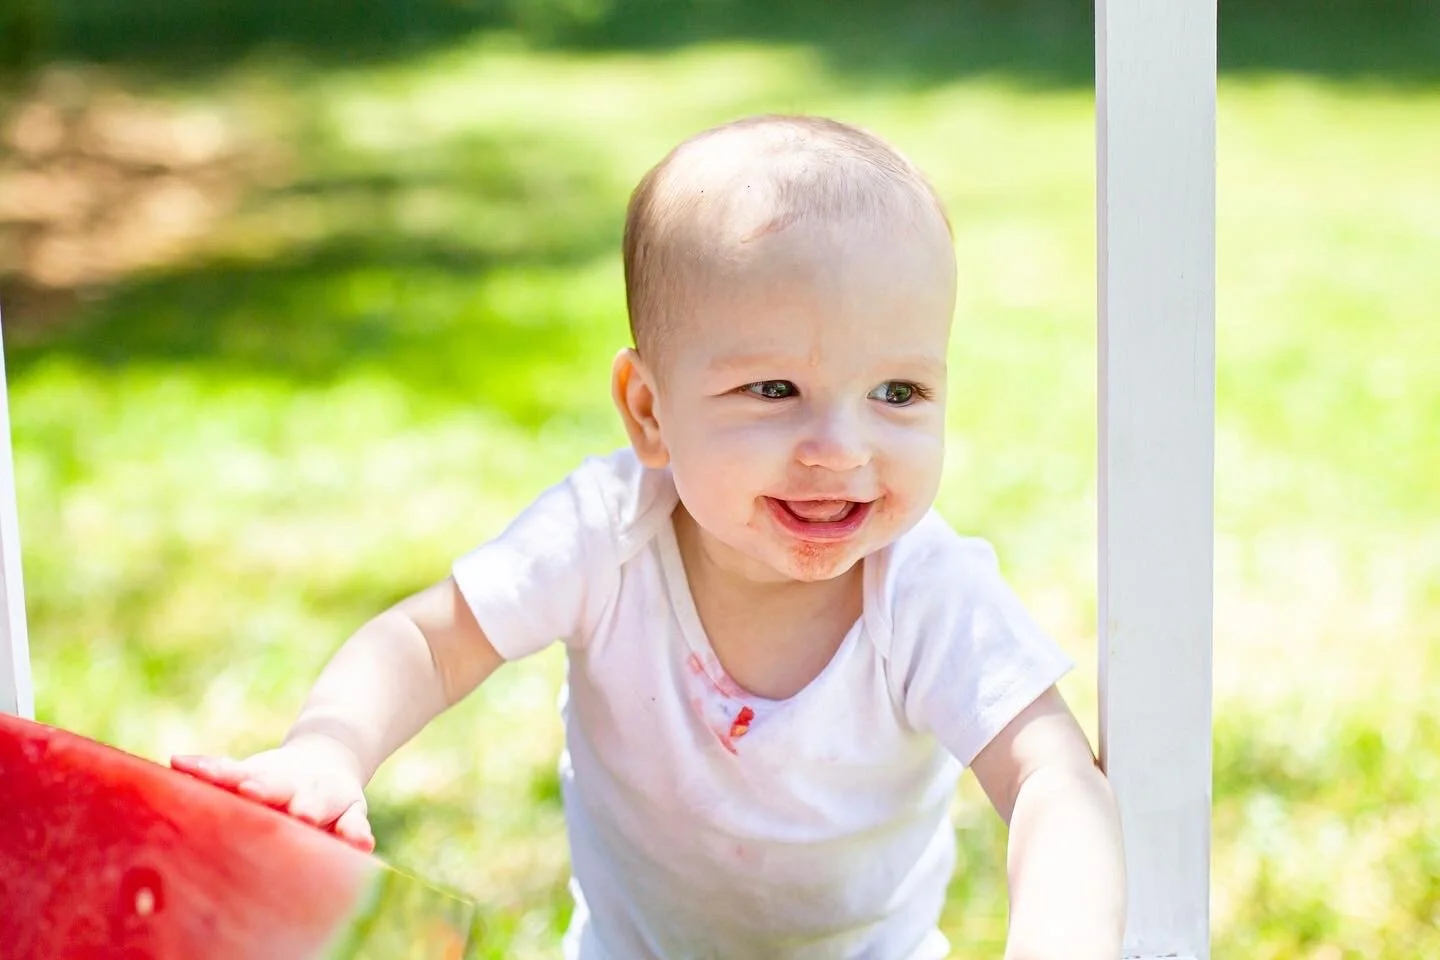
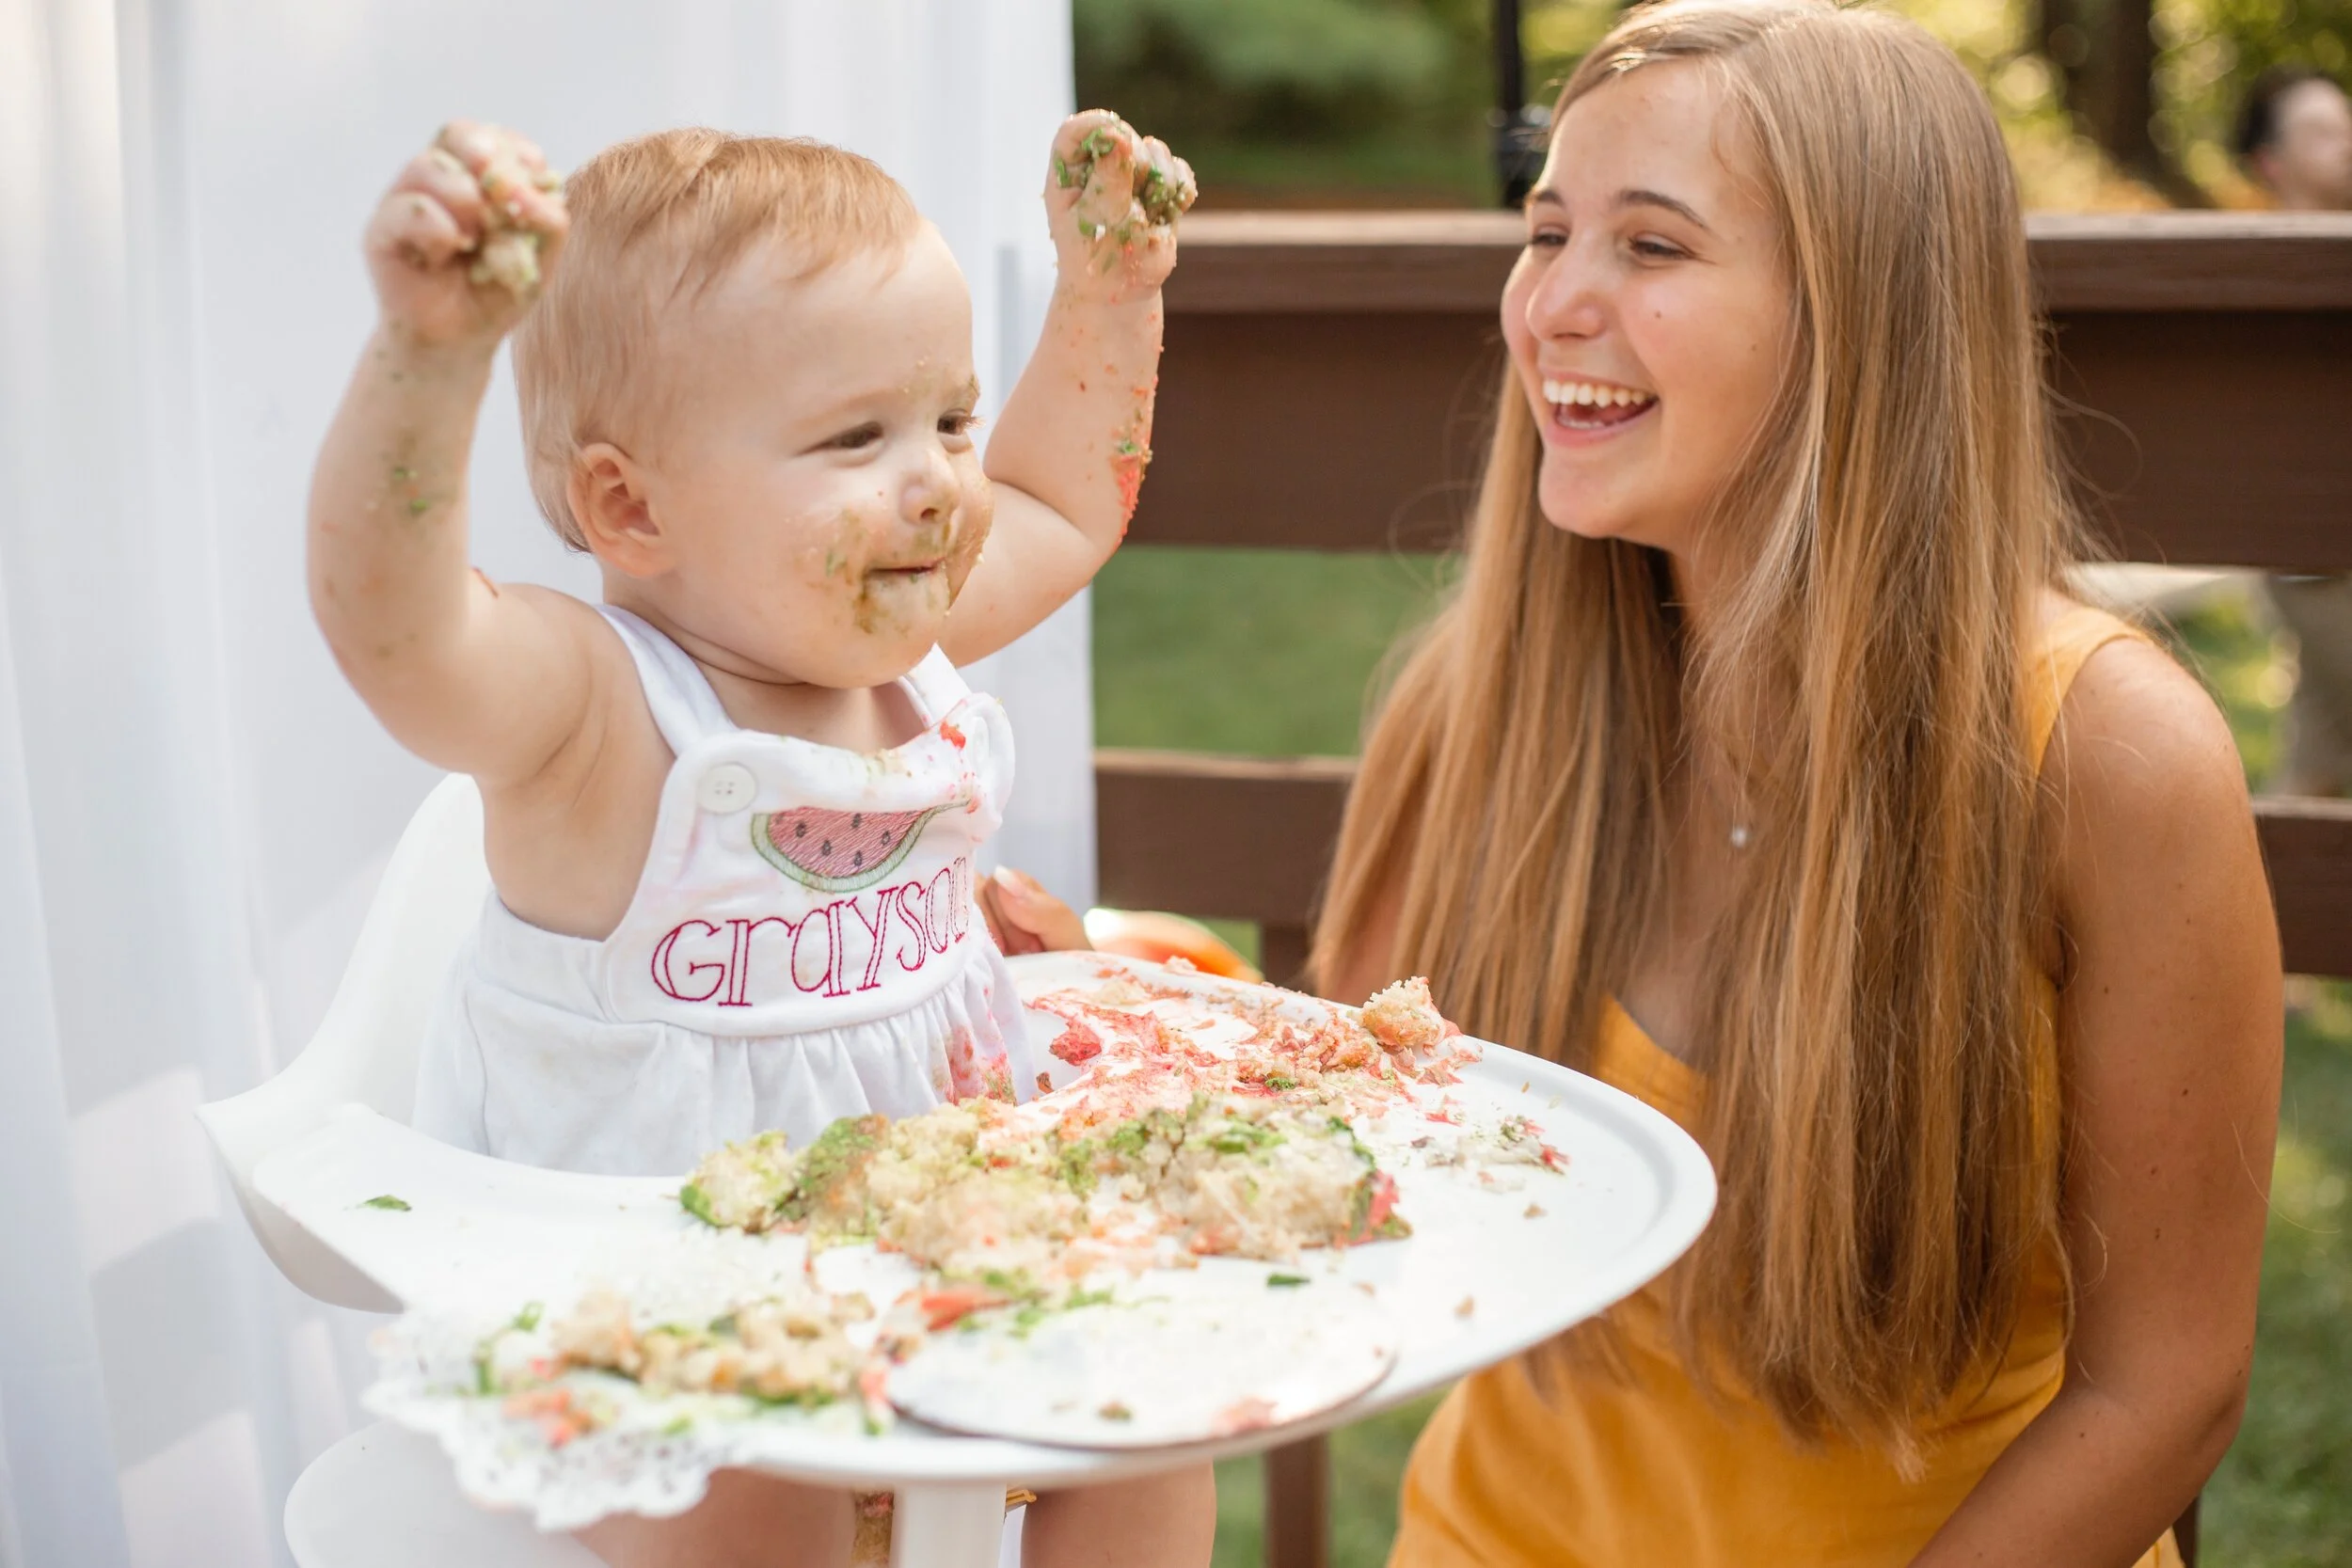
PROFESSIONAL CAKE SMASH PHOTOS


On their actual birthday, we had the best session with the same photographer who took all of their newborn photos. She is truly such a baby whisperer and talented photographer which is everything when it comes to an experience like this. If you’re in North Jersey, and want to check her out, here is her Instagram and website! We got the babies dressed once we arrived and scheduled the session for after their first (and best) nap of the day. For cleanup, she had plenty of warm, wet paper towels/baby wipes on deck, we threw all of their dirty outfits in a plastic bag, and got them back into the clothes they arrived in. Was it a lot? Oh yes. Was it worth it? 100%! I am so happy to have such beautiful photos to look back on and cherish. You can watch a bit of the behind the scenes chaos here and find the outfit/prop details below:
Madison’s dress: Linked here
Madison’s floral crown: Handmade by removing a bow from one of her headbands, covering with a piece of lace fabric, and hot glueing 3 small white flowers too. It took all of 2 minutes and was super simple!
Boys’ outfits: Linked here
Cakes: 4” Naked Cakes
Cakes Stands: Home Goods find. Here is a similar one!
I’ll come back at some point to add in more photos from our fun days, but didn’t want to leave you hanging any longer for the basics! If you’re planning a summer birthday party or cake smash I hope this gives you some inspo and smiles! Xo, Lindsay